Connecting Notebooks to a Data Source
Notebooks can connect directly to Live databases, or use shared connections for ElastiCubes and Live data sources. (These are any data sources that have been configured and shared in the Data tab.)
Add Connection Window
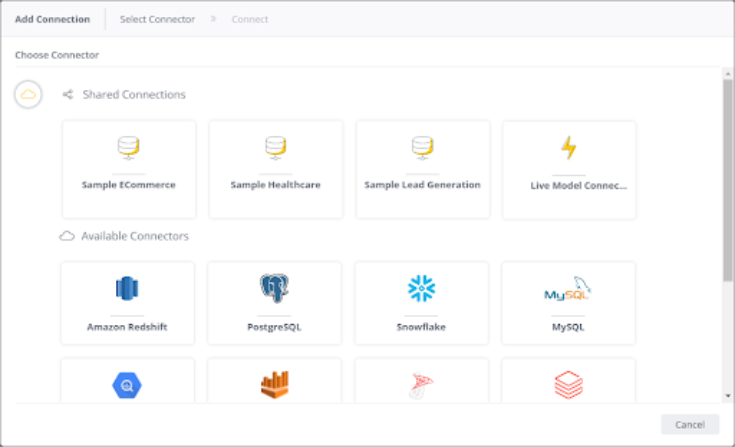
When you first create a new Notebook the Add Connection window opens.

Both the direct Live and the shared connections are available in this window:
-
The Shared Connections section includes connections to:
-
Any Live models that have been shared with the Notebook user (in the Data tab)
-
The ElastiCubes that have been shared with the Notebook user (in the Data tab)
-
- The Available Connectors section includes connectors for direct Live connections
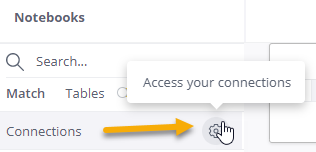
For existing Notebooks the Add Connection window is available at any time by clicking on the gear icon:

Using Shared Connections
The Shared Connections section includes the ElastiCube models running on the Sisense server and any Live models that have been configured and shared in the Data tab. When creating a new Notebook, simply select one of the shared connections (shared Live or ElastiCube) to connect.
Setting up Direct Live Connections
Notebooks can connect to the following databases:
- Connecting to Databricks
- Connecting to SQL Server
- Connecting to Amazon Redshift
- Connecting to Snowflake
- Connecting to PostgreSQL
- Connecting to MySQL
- BigQuery - For more information see Connecting to Google BigQuery, (below).
Connection to a database must be done through a secure connection, either SSL or SSH.
Connecting Directly to a Live Database
To connect a Notebook directly to a Live database:
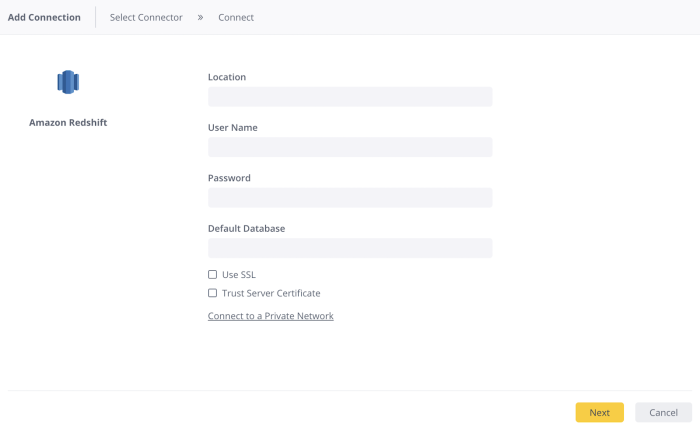
- Select a Live connector and enter the connection details.
- After entering the required information, click Next to connect.

- Sisense Notebooks supports SSH for Redshift, PostgreSQL and MySQL database connections. To connect, you must download this Sisense public key.
- Click the Connect to a Private Network and enter the information.
- Click Next.
Connecting Notebooks to Google BigQuery
To connect your Sisense Notebook to BigQuery:
- In your Google BigQuery account, click ADD KEY.
- From the dropdown menu, select Create New Key.
- Keep JSON as the default option and click CREATE. The JSON key file downloads to your computer.
- Open the Sisense File Manager. To do so, enter your Sisense URL into your browser and append /explore to the end.
For example:https://site_name.sisense.com/app/explore - Save the JSON file that you downloaded in this directory:
/opt/sisense/storage/connectors/ - Return to your Notebook to create the BigQuery data connection.
- In the Service Account Key Path field, enter the full path of the BigQuery JSON file you saved:
/opt/sisense/storage/connectors/[bigquery_key_file].json
For example, if you saved the JSON file as bigquery_creds, the path would be:/opt/sisense/storage/connectors/bigquery_creds.json - Click Next.