Connecting to Databricks
This topic describes how to import data into a Databricks cluster, and how to use Introducing Live Models.
Sisense enables easy and quick access to databases, tables and views contained within Databricks. Databricks is pre-installed and enabled by default.
To connect to your Databricks cluster, you need to provide a connection string that identifies the Databricks cluster you are connecting to, and that database's credentials. To create a connection string, see Databricks JDBC drivers.
You can then import your data into a Sisense ElastiCube or connect your data to a Sisense Live model.
To import Databricks data:
- In the Data page, open an ElastiCube or click
 to create a new ElastiCube.
 -
In the Model Editor, click
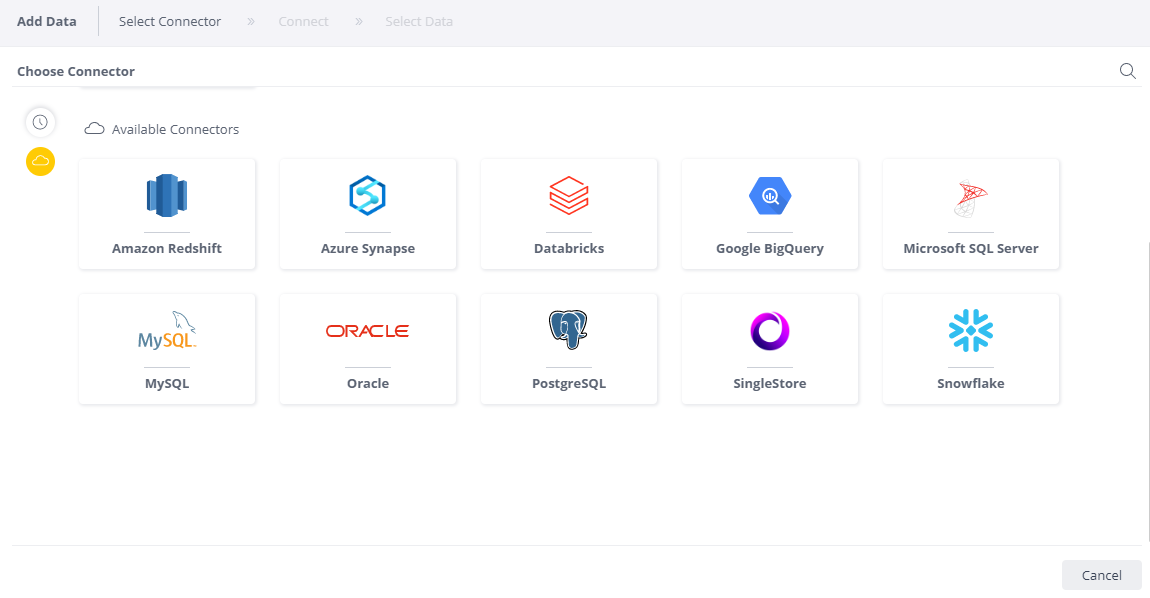
 . The Choose Connector window is displayed.
-
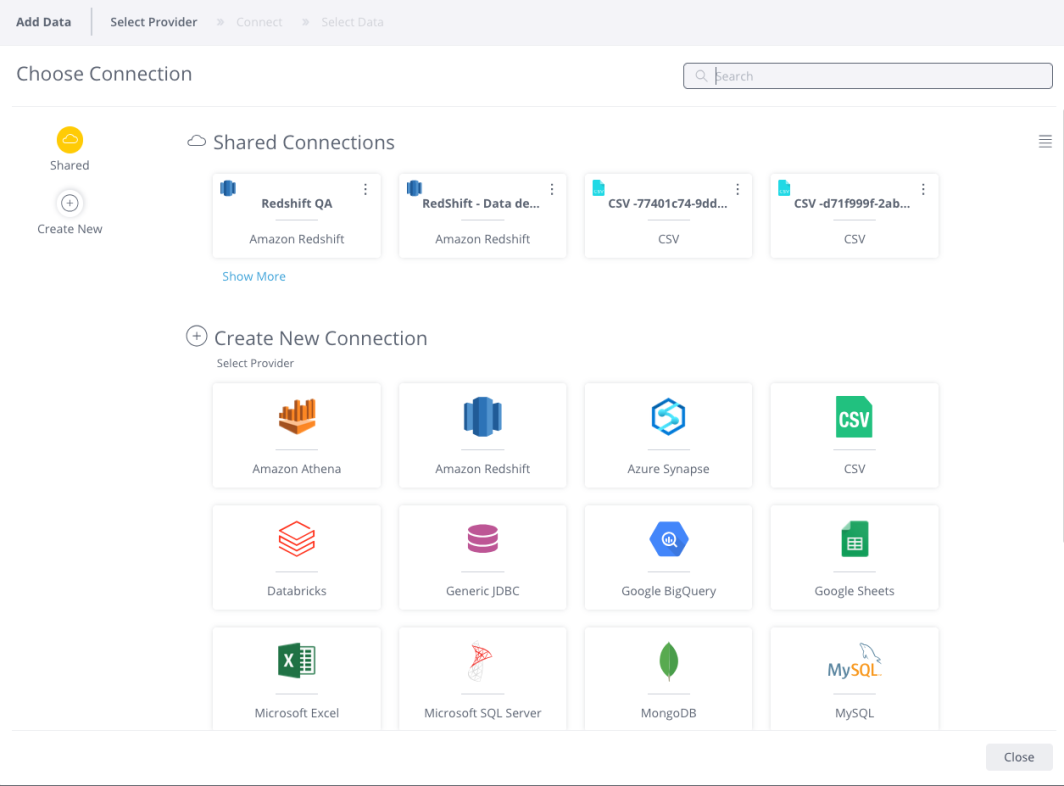
Choose an available managed connection, or create a new connection, for Databricks. The Databricks area is displayed.
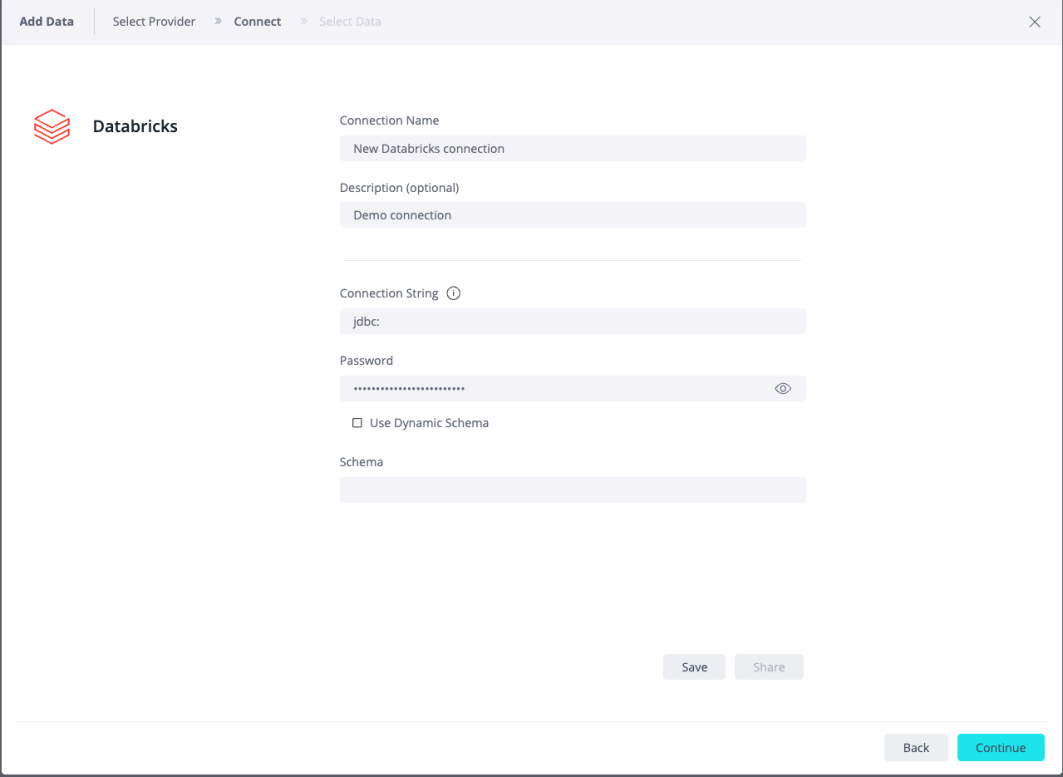
- In Connection String, enter your connection string to your Databricks cluster. To retrieve the connection string, see
Retrieve the JDBC Connection String.
- In the Password field, enter your Databricks personal access token as the password. See Generate a Personal Access Token.
- For information about the Schema and Dynamic Schema functionality, see Managing Live Dynamic Connections.
- Click Next. All tables and views associated with Databricks are displayed.
- From the Tables list, select the relevant table or view you want to work with. You can click

next to the relevant table or view to see a preview of the data inside it. When you select the table or view, a new option is displayed at the bottom of the list, Add Import Query. - (Optional) Click + to customize the data you want to import with SQL. For more information, see Importing Data with Custom Queries.
- After you have selected all the relevant tables, click Done. The tables are added to your schema.

- In the Data page, open a live model or click
 to create a new live model.
 - In the Model Editor, click
 . The Add Data
dialog box is displayed.
 - In the Add Data dialog box, select Databricks.

The Connector page appears.

- In Connection String, enter your connection string to your Databricks cluster. To retrieve the connection string, see
Retrieve the JDBC Connection String.
- In the Password field, enter your Databricks personal access token as the password. See Generate a Personal Access Token.
- For information about the Schema and Dynamic Schema functionality, see Managing Live Dynamic Connections.
- Click Next. All tables and views associated with Databricks are displayed.
- From the Tables list, select the relevant table or view you want to work with. You can click
 next to the relevant table
or view to see a preview of the data inside it. When you select the table or view, a new option is displayed at
the bottom of the list, Add Import Query.
 - Click Done. The tables are added to your schema.
By default, Databricks shuts down after a period of inactivity. When a query arrives that must be processed, it can take a long time for the Databricks to start up and process the query. This can result in a connection timeout, or a long delay for the first incoming query to get the query result. For your Databricks to be available in real time, it is best practice for the Databricks administrator to:
- Use a serverless SQL endpoint. See Serverless SQL Endpoints.
- Use the Start API to automatically turn on the Databricks cluster for peak usage. See Start API.
- Increase the query timeout of the Databricks model, to allow Databricks to successfully reload and return results. See Configure Automatic Termination.