Generative AI (Cloud-Linked Features) - Empowering Your Analytics Experience
Last updated: June 11, 2026
| Tier | Deployment |
|
|
|
Sisense leverages Generative AI, powered by large language models (LLMs), to introduce intuitive, conversational, and insightful analytics. These capabilities transform how users interact with data by removing technical barriers and accelerating time to insights.
These capabilities represent a long-term strategic investment by Sisense to continuously improve and expand the AI experience. We are actively working on offering fully managed LLM options as part of our platform in the future as well as supporting additional LLM providers.
Note:
Generative AI is generally available for Managed Cloud customers. Customers are required to supply their own Large Language Model (LLM) via supported providers. Self-hosted environments currently have beta access; refer to the self-hosted documentation for details.
Key Features
AI Assistant
An AI assistant is available in the context of your dashboard, enabling users to explore data by asking questions of their own and receiving relevant insights, visualizations, and follow-up recommendations in natural language.
Narrative
Narrative provides AI-generated textual summaries that describe widgets and highlight key insights from your data.
Note:
Narrative is a premium feature, requires separate licensing, and does not require external LLM configuration.
Semantic Enrichment
Semantic Enrichment automatically creates descriptions provided by Sisense Intelligence for your data models’ tables and columns.
Getting Started
Before enabling Cloud-Linked Features, ensure you have access to your LLM key. For detailed instructions on how to set up your LLM, and supported models, see Setting Up Your LLM.
Enabling Cloud-Linked Features
Cloud-Linked Features can be enabled (or disabled) as follows by a Sisense Administrator:
-
Search for “Sisense Intelligence” in the search bar or open the Sisense Intelligence drop-down.
-
Click Feature Management.
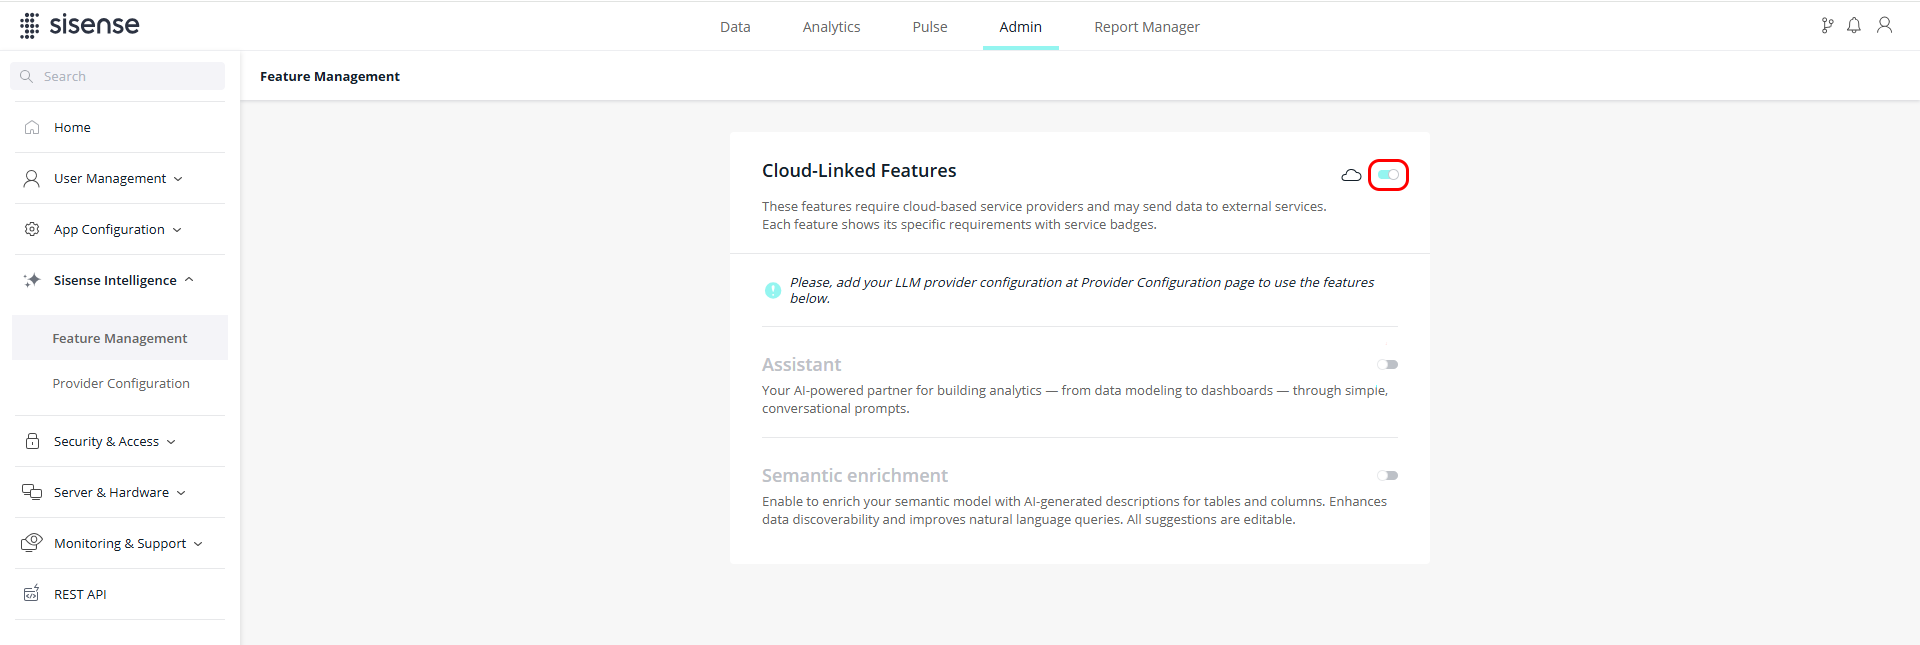
-
Enable Cloud-Linked Features via the toggle.
When this toggle is disabled, you will not be able to access the Cloud-Linked Features features that require your own LLM (Narrative is controlled separately).
Connecting Your LLM
To enable Cloud-Linked Features, Sisense requires integration with a supported Large Language Model (LLM).
Follow the instructions based on the provider that you are using to set up your LLM as detailed in Setting Up Your LLM. In order to proceed, you must configure your own LLM API key.
Limitations
The Generative AI settings on this page support multiple tenants, but the system administrator cannot control the AI assistant feature behavior per tenant. All tenants inherit the same behavior.