Making Selections in a Widget
You can click specific portions of most widgets (except for table and indicator widgets) to select the widget's portion. This filters the dashboard according to the selected data by adding a filter to the dashboard's Filters panel.
You can also use the selection to drill down in the widget (see Drilling Down in a Widget ).
To select an item in a widget for filtering:
-
Left-click an item in a widget to automatically select it and add a dashboard filter according to the selection.
-
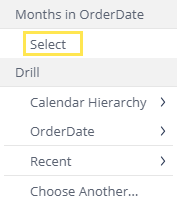
For multiple selection, use the Ctrl key. When released, a menu will appear. Click Select.

-
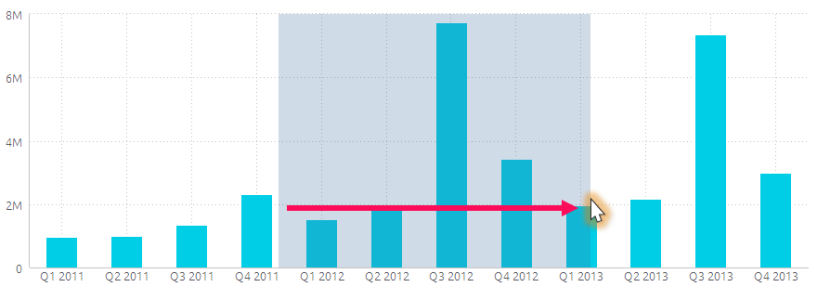
In chart widgets, you can drag and draw the area to be selected, as shown below:

Note:
Widget filters always have a higher priority than dashboard filters on the same dimension, (see Creating Widget Filters). This means that drilling by selection on the dashboard level will not change the widget if there is a filter applied on the widget level on the same dimension.
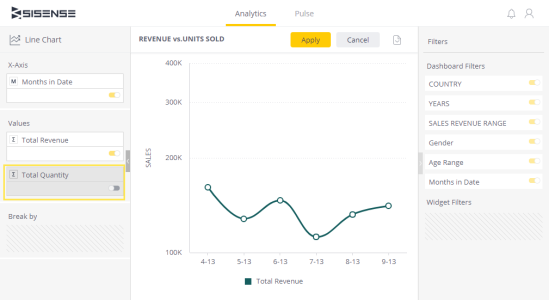
When you select a portion of the widget, click  to expand your view of the selection.

You can refine your data further by toggling the switches on the left side as shown in the example below.

To clear your selection
When drilling down by making a selection, the system creates a corresponding dashboard level filter. In order to return to the dashboard’s previous state you can use one of the following options:
-
Delete, disable or create a dashboard filter
-
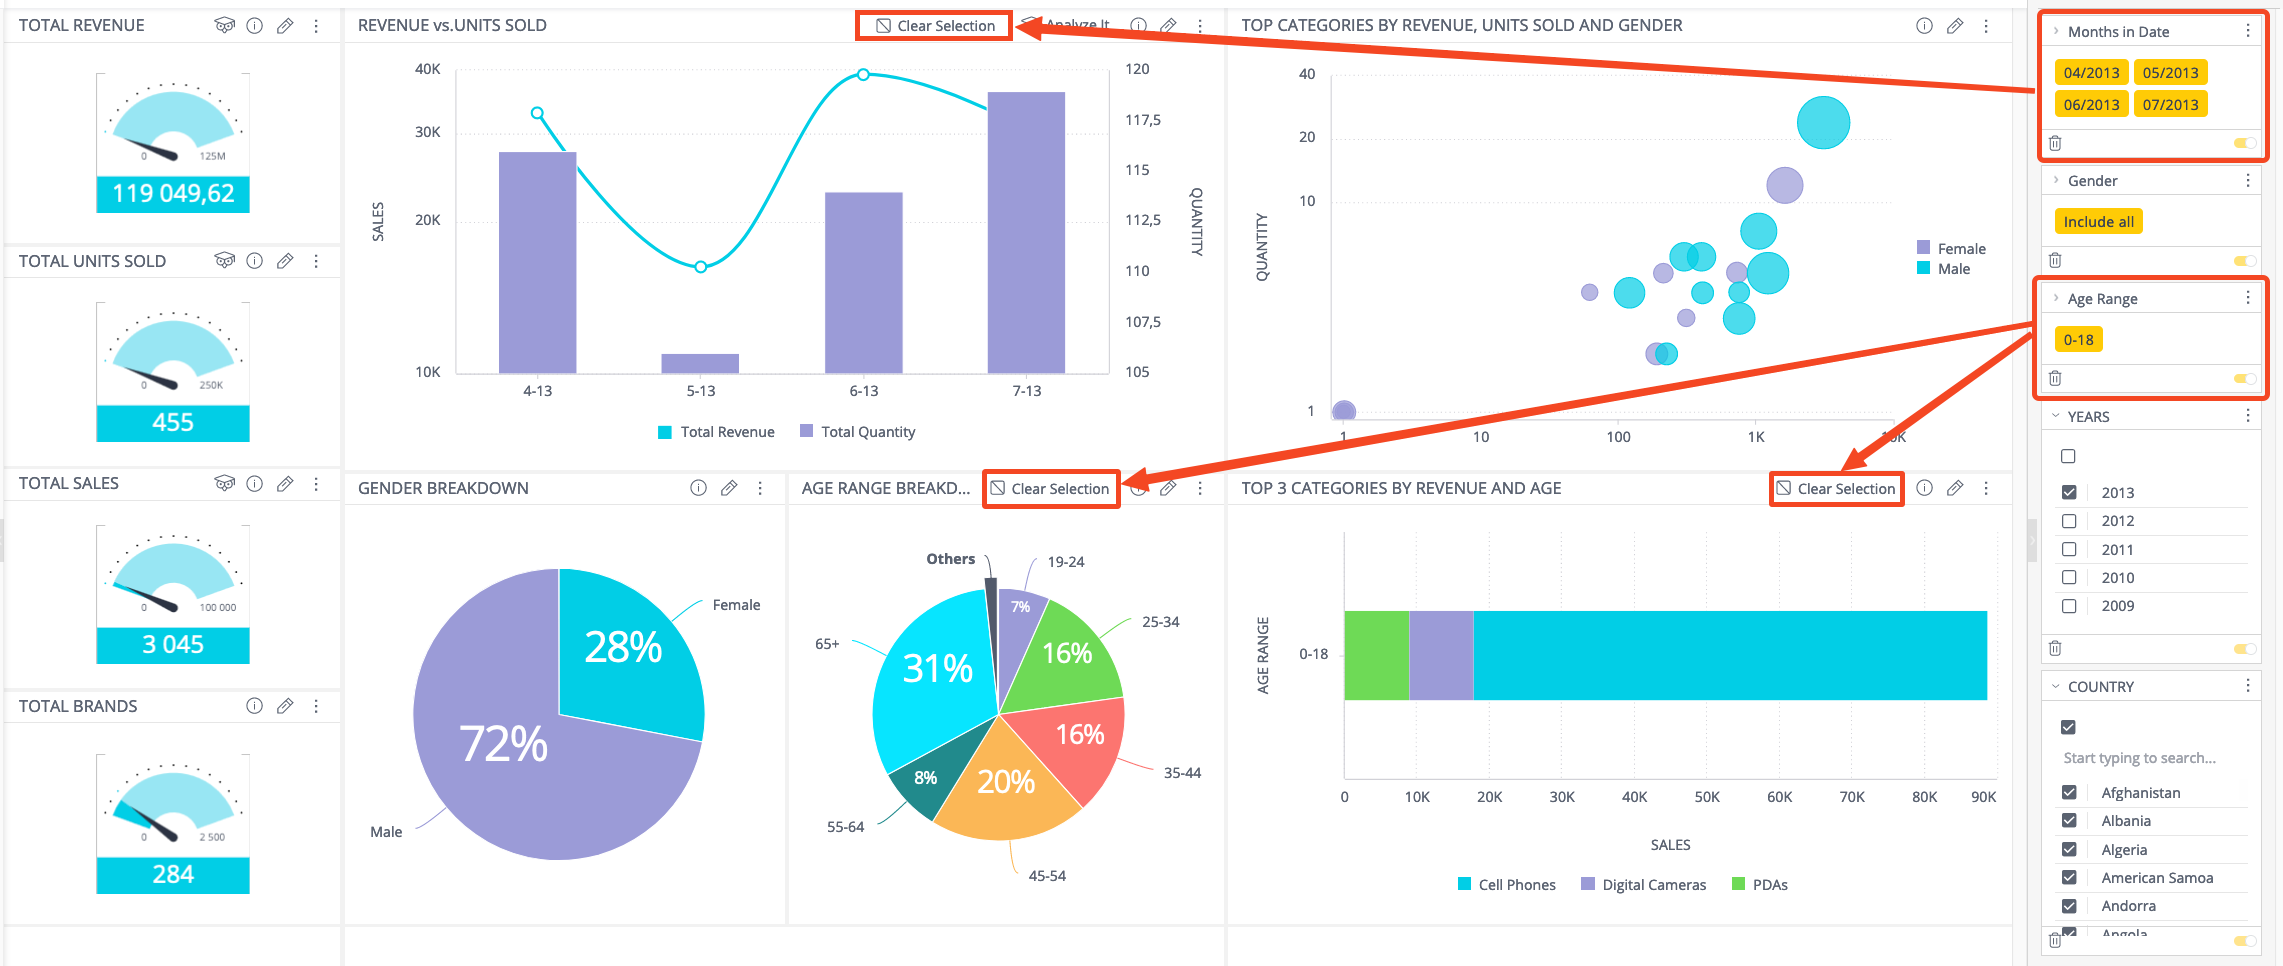
Use the [Clear selection] button which is displayed in the widgets that have the same dimension and granularity as any of the dashboard filters

When you extensively explore the dashboard and navigate between different hierarchies you may face a situation in which the original filter created by a selection has a different granularity than the widget, (for example, the widget is using quarters while the filter is using days). In this case there will be no [Clear selection] option in the widget to quickly get back to its original state.
When this happens:
-
You may need to set up your default filters and revert the existing ones to the default state. See Saving Your Default Filters View for more information.
-
Or, if the dashboard is shared with you, restore the dashboard to the original state. See Restoring Filters for more information.
Limitations
-
Selecting/Unselecting series from the legend will not automatically become filters:
-
The legend category selection resets when switching tabs (for example, via Tabber)
-
The legend category selection resets when resizing widgets
-