Creating Widget Filters
Use the Widget Designer to create widget filters and add widget filters to an existing field.
In the Widget Designer, you can define a filter for the data in a widget. or example, you can create a filter that only shows the fields of relevant countries. The filters are not visible in the dashboard, nor can they be edited directly from the dashboard.
Creating a Widget Filter
To add a widget filter:
- Open (edit) this Widget in the Widget Designer, as described in Adding Widgets to a Dashboard.
- Click the Filters tab in the Widget Designer.
- The Filters panel is displayed showing the filters defined for this Widget. Click on the Add
Filter button to display the Data Browser, which lists the fields in the ElastiCube.

- Click on a field in the Data Browser to add it as a filter. You can define multiple filters, each for a different field. These filters have an AND relationship between them. Each filter that you define appears on the Widget Filters panel on the right, enabling you to easily edit it if needed. The procedure for defining a Widget filter is similar to the procedure for defining a Dashboard filter, as described in Creating and Editing Filters. The difference is that the widget filter only affects its hosting widget, and is accessible only via the widget designer, not directly from the dashboard.
Filtering a Widget on the Same Field as a Dashboard Filter
When creating a widget filter for a field that is already filtered in a dashboard filter, the widget filter will override the dashboard filter.
You have a dashboard filter, filtering the countries field, with the values US, UK, and Canada selected. At the same time, you create a filter for a widget, with UK, Germany, and France selected. When both filters are applied in the dashboard, you will see the data for UK, Germany, and France in the widget, according to the widget’s filter.
When filtering date fields, the rule above is applied only to the filters of the same date level; i.e., a widget filter on months will override a dashboard filter on months, but will not override a dashboard filter on date. If filters of different date granularity exist on the dashboard and widget levels, they are combined.
-
In a dashboard, January and February are selected in a date filter. In a widget, March and April are selected in a date filter.
Result: the widget is filtered for March and April. In this case, the filters have the same granularity, so the widget filter overrides the dashboard filter. -
In a dashboard, years 2023 and 2024 are selected in a date filter. In a widget, Q1 2024 is selected in a date filter.
Result: the widget is filtered for Q1 2024. In this case, the filters have different granularity, so both of them are applied. -
In a dashboard, a date filter ‘Last 20 years’ is applied. In a widget, year 2023 is selected.
Result: the widget will be filtered for 2023. In this case, as in the first example, the filters have the same granularity, so the widget filter overrides the dashboard filter. -
In a dashboard, a date filter ‘From 01-01-2024’ is applied; i.e., on the days level. In a widget, year 2023 is selected.
Result: there are no results on the widget. In this case, the filters have different granularity, so both of them are applied, but the selected ranges are mutually exclusive.
Note:
A background filter cannot be disabled by disabling the dashboard filter on the widget level or when the filter is disabled on the dashboard. To override a background filter on the widget level, create a background widget filter.
A dashboard designer has set up a background filter on a dashboard to display only the top five countries by population included in the available list of countries. However, in a particular widget there is a need to display all countries. Selecting all countries in a widget filter on the Country field will result in the same five countries presented in the widget results, since the dashboard background filter cannot be turned off and will still be applied. The designer should create a widget background filter on the Country field, with all countries selected; this filter will override the dashboard background filter for a particular widget.
If your widget is filtered using measured values, then the measured value will override any other widget or dashboard filters you have for the same fields.
Widget Filters Indication
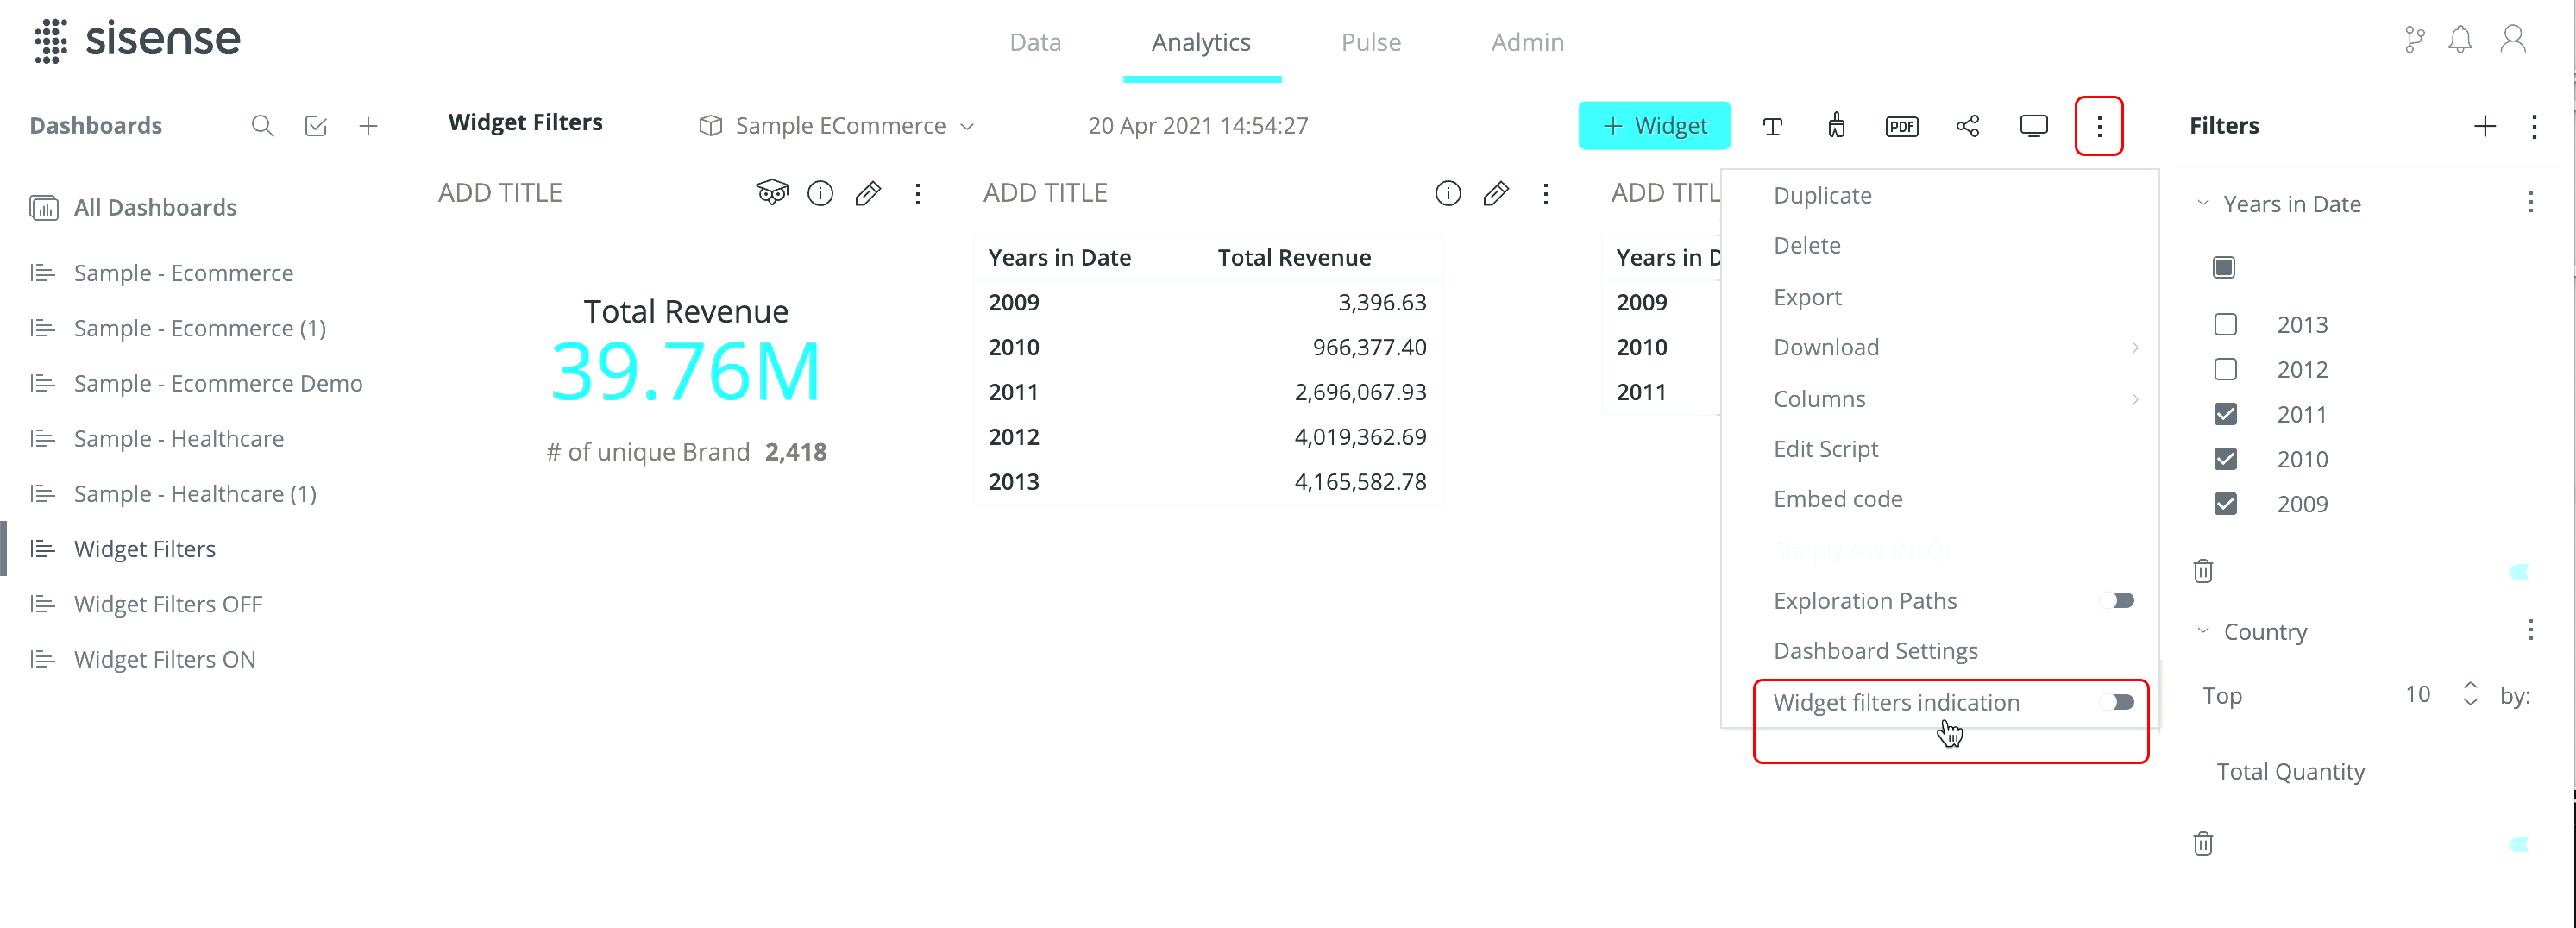
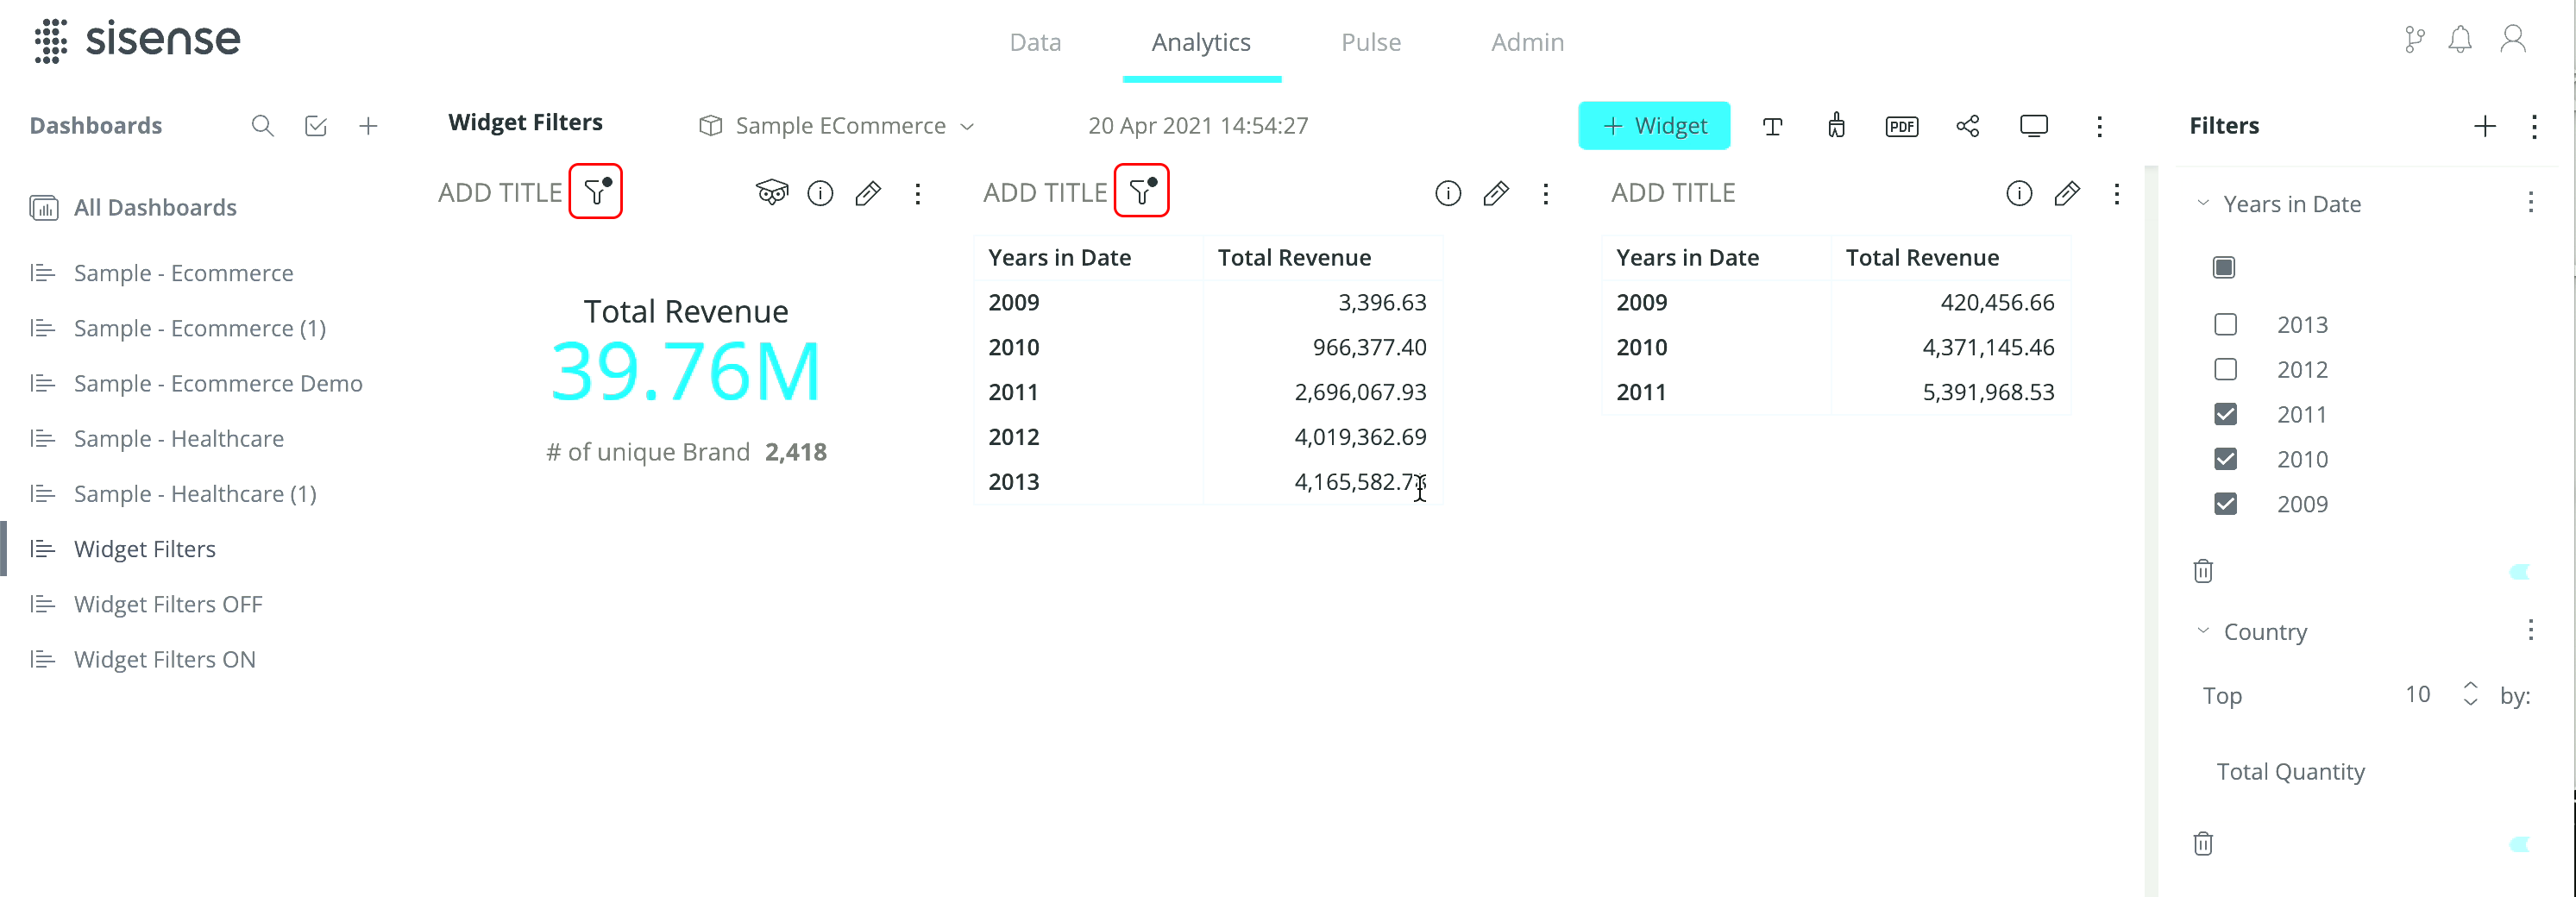
A configuration setting, “Widget filters indication”, is located in the dashboard menu which allows the dashboard owner to display an icon in the widget toolbar that indicates that the filters applied to the widget differ from the dashboard filters.
Note:
-
The indicator icon will be presented on dashboards embedded with iFrame or Embed SDK, but will not be presented on individually embedded widgets.
-
Shared users with ‘Can design’ permission do not have this configuration setting available in their copy of a dashboard. It is only configurable by the dashboard owner.

This feature is disabled by default for backward compatibility with existing dashboards. Therefore, to use this feature, it must be enabled for each dashboard. When it is enabled, the ![]() icon appears on the widgets where the filters affecting the results are different from the dashboard filters.
icon appears on the widgets where the filters affecting the results are different from the dashboard filters.

You can click the icon to see more details about the additional and/or disabled filters.
![]()
If a widget has a filter on the same column as an existing dashboard filter, but with different values, it will be displayed in the first section as an added filter. If there are many added/disabled filters, a scrollbar is added to the details window, as well as expandable sections.
Republish to apply the change (to display the widget filters indicator) for the Viewers’ dashboard.
Adding a Widget Filter to an Existing Field
Adding a new widget filter, as described above, lets you use any field as a widget filter. Sometimes you want to directly filter a field that is already part of the widget and visible in the data panel on the left.
Note:
-
The filter created directly on the field using a formula is ignored if the field is disabled in the widget data panel.
-
Adding a filter directly from the aggregated field in the left panel Values section is not possible when there are no dimensions/categories defined.
To add a Widget Filter to an existing field:
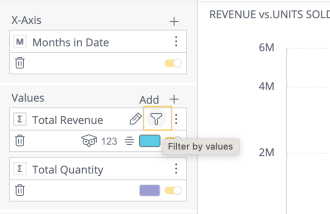
- Hover over the field you want to filter, and click the FILTER icon.

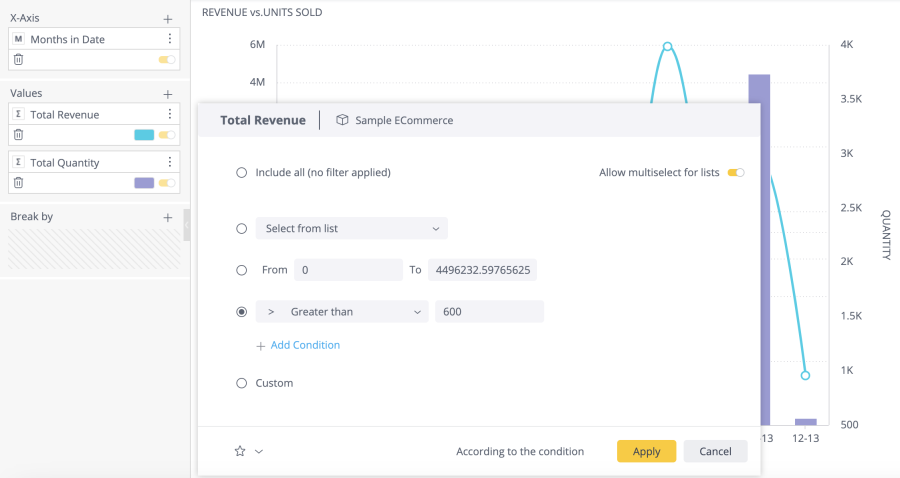
- The filter definition window will open.
