Installing Sisense
The entire Sisense solution can be installed from one file, either locally or in a central place in your organization.
All Sisense components are installed with a default configuration, as follows:
- Sisense
- ElastiCube Manager
- Sisense Server Console
- ElastiCube Server
Notes:
- To install Sisense, you must have Administrator privileges on the machine where you are installing Sisense and your environment must meet the Windows Minimum Requirements.
- Sisense must be installed on the C drive.
- Disable Internet Explorer's enhanced security option.
- If you are installing Sisense in Windows Server 2019, see Disabling Windows Defender Real-Time Protection.
To install Sisense:
-
Open the downloaded executable file to run the installation.
Note:
If your Window Firewall is active, click Allow access to continue installing Sisense.
-
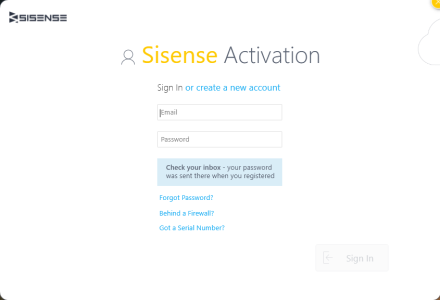
If this is the first time you are installing Sisense on this computer, enter your username and password to confirm licensing and begin the installation process. If you have previously installed Sisense on this computer, the activation screen is not displayed.
-
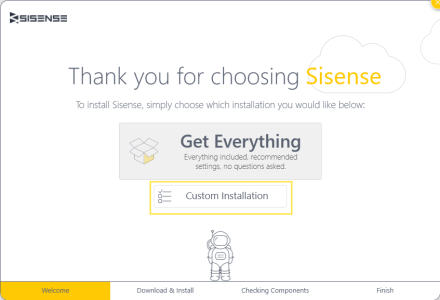
Select Get Everything to run the default installation:

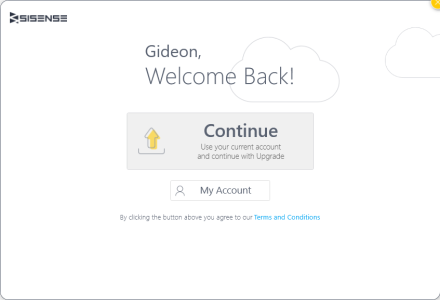
If you are upgrading your version, click Continue.
Installing Sisense Behind a Firewall
The standard installation requires internet access to download the necessary components. For machines behind a firewall, or without internet access, you can download and install the full self-contained installation file.
For detailed instructions, see Installing Sisense Offline.
Recommended Antivirus Exclusions for Sisense
Some folders, processes, and services may have to be excluded from anti-virus scanning when you use anti-virus software. If these are not excluded, you may see unexpected behavior such as problems accessing or installing Sisense.
See Sisense's Recommended Antivirus Exclusions for Sisense for the complete list of services, processes, and folders that need to be excluded.
Customizing the Installation
This topic describes how you can customize the settings for your web server application during the installation process or after Sisense is installed.
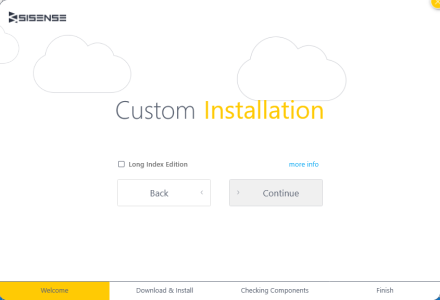
For example, you can configure your server to use the Long index edition of Sisense if your ElastiCube s are expected to contain a table with over 300 million rows.
To access the customization options during the installation process:
- While installing Sisense, click Customize Installation, and define the settings as described below.
Note:
You cannot customize the settings during an upgrade process. If you upgraded Sisense and want to customize settings, refer to the post-installation option described below.
To access the customization options after you have already installed Sisense:
- Open the Control Panel, and go to Programs > Programs and Features. Right-click Sisense, and click Change.
-
Click Continue> Change Features, and define the settings as described below.
Settings
ElastiCube Server
Select the Long Index edition if your ElastiCube s are expected to contain a table with over 300 million rows.
It is not recommended to use this configuration setting for ElastiCubes in which the largest table does not include at least 300 million rows.
Limitation
Set the Sisense application timezone to “UTC +” or dates are not presented as expected.
Related Topics
If you have any problems installing Sisense, see related Community articles.
.r.