White Labeling Sisense
You can white label (rebrand) Sisense to fit into your native application or site through the Configuration Manager or the Sisense REST API, and replace existing icons and images with your own.
White labeling must be enabled in your license. Contact your Sisense representative or open a request through the Sisense Support Portal. Sisense also offers a premium white labeled version of the Sisense Mobile app that can be customized according to your branding (see Rebranding Sisense Mobile).
White Labeling Sisense from the Web Application
You can customize Sisense directly from the Sisense web application so that it displays your own branding.
To enable white labeling and made branding changes:
- Click Admin in the top menu.
- Open White Labeling in one of the following ways:
- From the search bar at the top of the window, search for White Labeling.
- From the quick access Configuration box, click the White Labeling link.
- From the navigation pane on the left, under App Configuration, click White Labeling.
.png)
- Enable White Labeling Configuration.
- Click Save and Apply.
Configuring White Labeling
The sections below explain how to white label your application.
General
This is where you set the page title.

Powered by Sisense
Note:
The Powered by Sisense option and the White Labeling Configuration options must both be enabled in the license for you to control the display of the Powered by Sisense label.

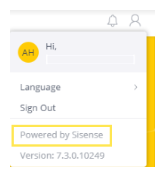
A 'Powered by Sisense' label displays on all Dashboards and Widgets. You can control the label's display if your license allows it:
- When your license enables you to control displaying the "Powered by Sisense" label, the toggle is enabled by default and you can disable it to hide the label.
- When your license does not allow you to control displaying the "Powered by Sisense" label, the toggle is enabled and cannot be disabled.
- When the license does not include the Powered by Sisense labeling, this option is disabled and cannot be enabled.
To remove the label:
- Disable the Show Powered by Sisense Labeling setting.
- Confirm that the Enable White Labeling setting is enabled, and then click Save and Apply.
Logo
This is where you can upload your:
- Favorite icon that displays on the browser tab.
- Large and small logos that appear throughout the application. The application will automatically display the most appropriate sized logo for each location.
- Large and small phone logos.
- Large and small tablet logos.

To add logos or a favicon, either:
- Upload a file by dropping it onto the field, or click browse to search for it.

- Select Upload File from URL, enter the logo file's URL, and click Import.

To apply changes, click Save and Apply at the bottom of the page.
Marketing Banner
You can manage the marketing banner that appears on the Data and Analytics tabs.
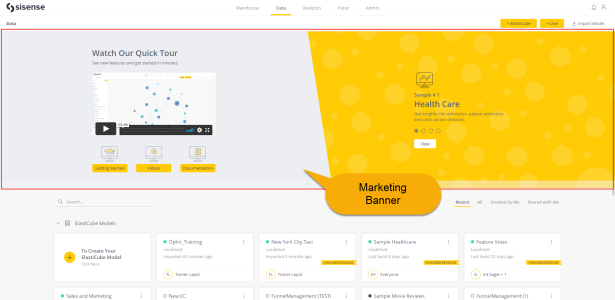
- On the Admin tab, in White Labeling, under the Marketing Banner section, select the required options:
- Show the Marketing Banner: Toggle ON to display the banner.
- Replace the marketing banner with a custom webpage: Toggle ON to display your custom page instead of the Sisense default banner. Enter the URL of your custom web page to embed in the marketing banner when this setting is set to ON.
- To apply your changes, click Save and Apply at the bottom of the page.
This is where you set your email configurations to white label your emails.
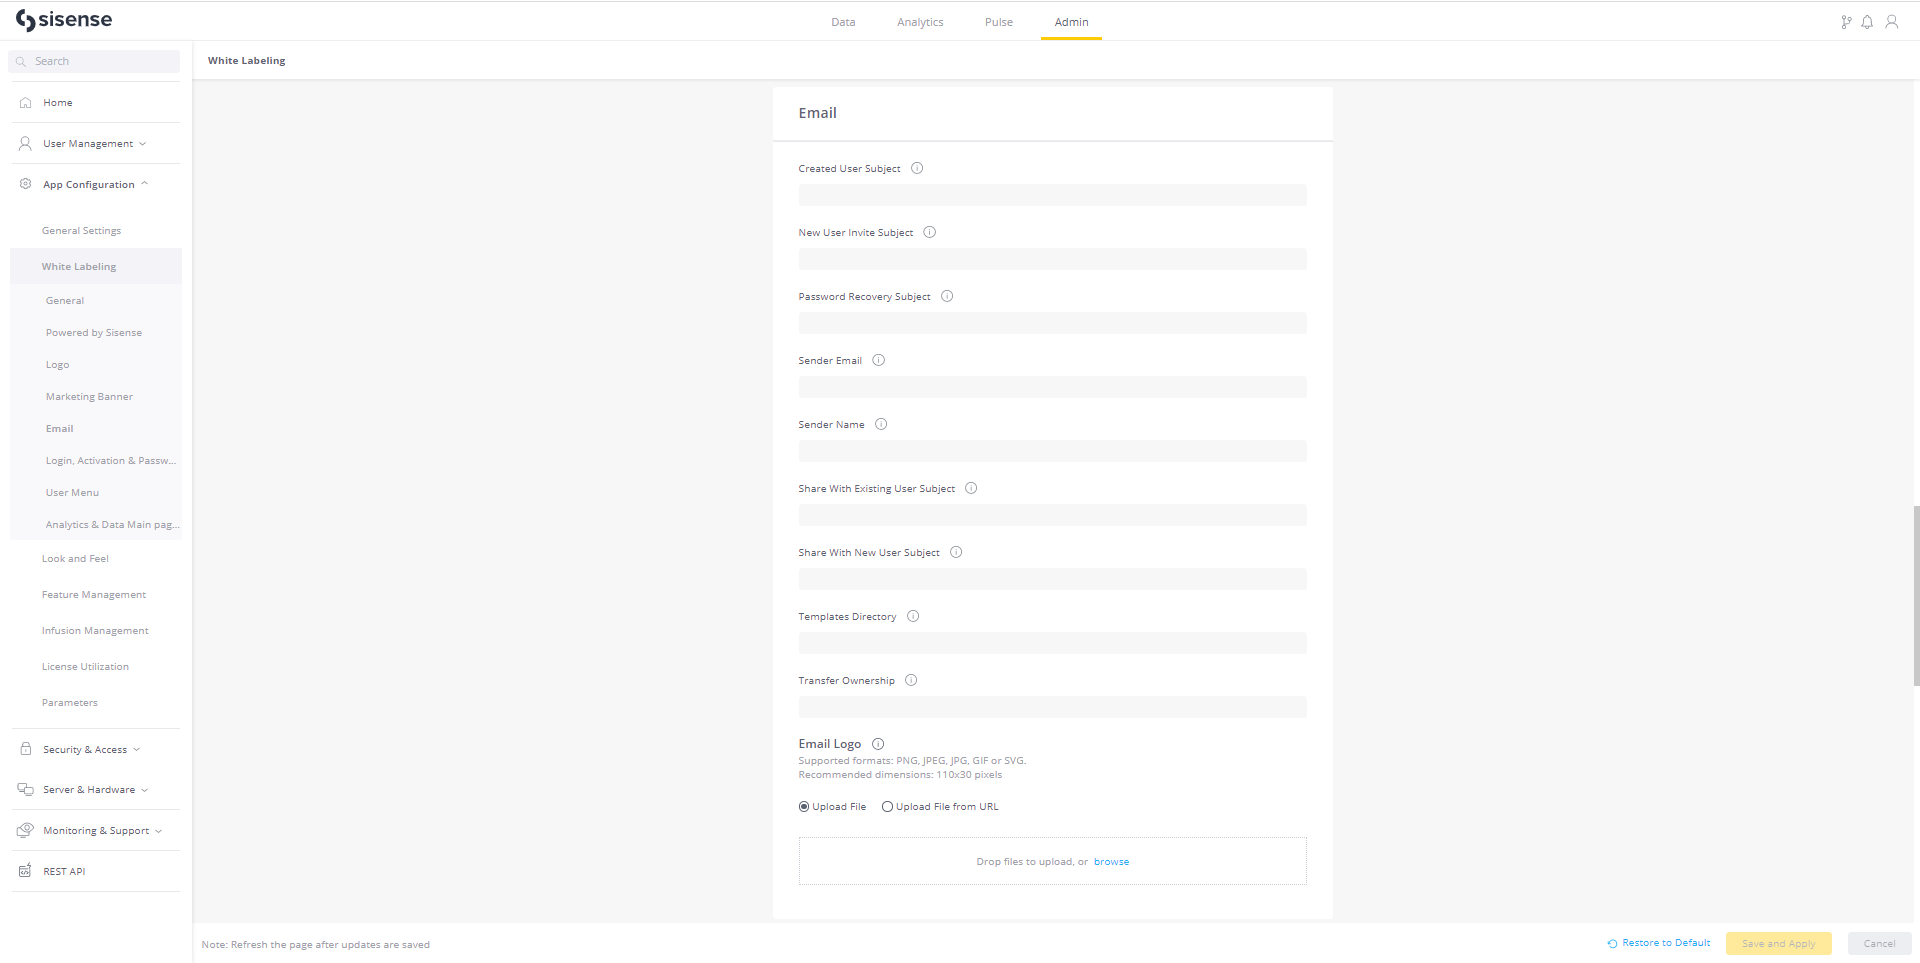
- To apply your changes, click Save and Apply at the bottom of the page.
Login, Activation & Password
This is where you white label the relevant parts of your login, activation and password pages.
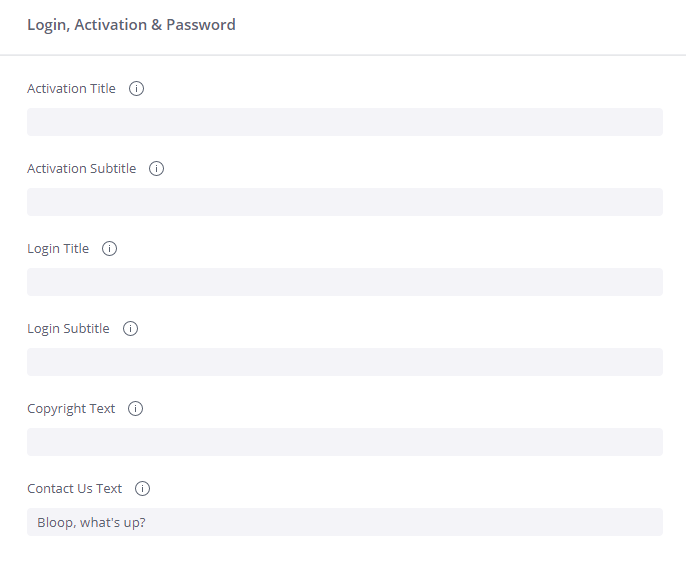
- To apply your changes, click Save and Apply at the bottom of the page.
User Menu
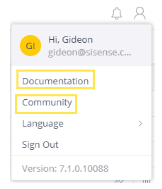
This is where you set the URLs to your own white labelled documentation and forum.
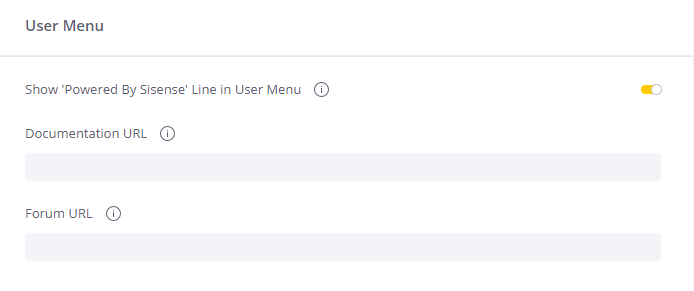
- To apply your changes, click Save and Apply at the bottom of the page.
Analytics & Data Main pages
This is where you set the URLs to your own white labelled analytics, documentation and tutorials pages.

To apply your changes, click Save and Apply at the bottom of the page.
To restore the system defaults, clearing all changes in the page, click Restore to Default.
White Label Sisense in the REST API
To white label Sisense through the REST API:
Note:
Go to the REST API playground to explore some of the REST API calls.
- Create a subfolder with your brand name in this directory (on the computer where Sisense is installed):
/branding/<YourBrand>/
See Uploading Files to Customize Your Linux Deployment and upload the files to the branding folder. - Save your branded files in this directory. The following files are supported:
- Desktop Logo (for example: Logo-Desktop.png or.jpg) - This is the main icon that is visible at the top left of Sisense.
- Tablet Logo (for example: Logo-Tablet.png or.jpg)
- Mobile Logo (for example: Logo-Mobile.png or.jpg)
- Favicon (for example: favicon.ico)
Note:
Optimal dimensions for logo images: 92x26
- In Sisense, click Admin, and then Rest API (either via the search or in the navigation pane on the left).
- Click /branding and then click the POST operation /branding.
To get the required JSON format for the request, click the sample model schema to place the sample text in the body parameter.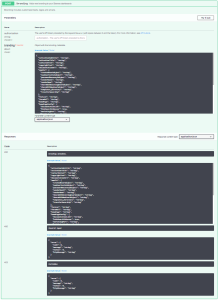
Example:
			{
			"activationSubtitle":"string",
			"activationTitle":"string",
			"contactUsText":"string",
			"copyrightText":"string",
			"documentationUrl":"string",
			"emails":{
			"createdUserSubject":"string",
			"newUserInviteSubject":"string",
			"passwordRecoverySubject":"string",
			"senderEmail":"string",
			"senderName":"string",
			"shareWithExistingUserSubject":"string",
			"shareWithNewUserSubject":"string",
			"templates_directory":"string",
			"transferOwnership":"string"
			},
			"favicon":"string",
			"forumUrl":"string",
			"homePage":"string",
			"homePageConfig":{
			"documentationLink":"string",
			"hideSearchInNavver":true,
			"marketingPart":"string",
			"hideMarketingBanner":false,
			"tutorialsLink":"string"
			},
			"loginSubtitle":"string",
			"loginTitle":"string",
			"logo":{
			"desktop":{
			"large":"string",
			"small":"string"
			},
			"phone":{
			"large":"string",
			"small":"string"
			},
			"tablet":{
			"large":"string",
			"small":"string"
			}
			},
			"pageTitle":"string",
			"poweredBySisense":true
		}
- Replace the sample values with your required values. For an explanation of each parameter and how it modifies Sisense, see the following section, White Labeling Configuration Options.
Note:
Make sure you delete parameters you do not want to change before running the call. Leaving "string" values will overwrite the Sisense default configuration.
- Click RUN.
- Refresh the Sisense page to view your changes.
White Labeling Configuration Options
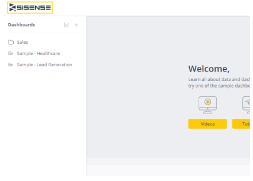
The following table provides a list of the features you can rebrand within Sisense and the JSON code that must be modified to rebrand it. Click the thumbnail image of the feature to see the default branding provided by Sisense and where your branding will appear.
| Name | Description |
|
Sisense Logo
|
The Sisense logo can be replaced with your own. You need to supply two sizes of the logo, for each device (Desktop / Tablet / Mobile). These logos affect the following screens:
Below is a list with the ideal logo dimensions (pixels): Small
Large
Important Notes:
"logo":{
|
Page Title and Favicon
 |
The page title that appears in the browser tab/page and the Sisense favicon.
Notes:
You can modify these images by updating the values of the following JAQL parameters in the REST API: "favicon" : "/branding/<YourBrand>/fav.ico""pageTitle": "Sisense", |
|
Homepage
|
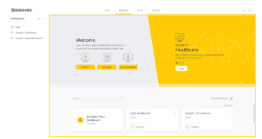
The home screen when your users log into Sisense. Rebranding the homepage doesn't affect the view of the Administrator. Administrators see the default homepage, while all other users see the rebranded page. Note: The prefix http:// or https:// must be included.
|
|
Homepage Config
|
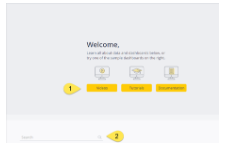
The Welcome banner of the homepage displayed when users log into Sisense. You define the following properties in the homePageConfig object: hideSearchInNavver: Indicate if you want to display the Search bar below or hide it. By default, the Search bar is displayed. marketingPart: The URL of the Marketing Banner iFrame. This iFrame is displayed on the top part of the Analytics and Data pages where the Welcome message and Sample Dashboards and ElastiCubes are displayed. You can replace this iFrame with your own content by defining the URL as the value of this key. tutorialsLink: The Tutorials button. Enter a URL that opens your site. documentationLink: The Documentation button. Enter a URL that opens your documentation site. |
|
Login Page
|
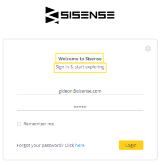
The Login page title and subtitles.
|
|
Copyright Text
|
The copyright text that appears in Sisense.
|
|
Activation Titles
|
The titles on the activation page for new users signing in to Sisense.
'activationTitle': 'First Time Activation','activationSubtitle': 'Please choose a password to begin using Sisense', |
|
Contact Us
|
The Contact Us text is displayed when you request a password and enter your email on the Recover Password page. This text displays a message and provides a link to your Support services.
'contactUsText' : 'For further assistance, please contact our success management team!: <a href='mailto:support@sisense.com'>support@sisense.com</a>', |
|
User Support
|
The User Support text is displayed in the top right corner of the Sisense. Be default, the links redirect customers to the Sisense user forums and documentation site. You can modify these URLs to redirect users to your user forums or documentation. This is useful for example when providing OEM services or if you have special forums or instructions to display to your users.
Replace the string with the URL to the relevant locations to redirect your users to your support sites. |
|
Powered by Sisense |
This string is displayed by default in the User Profile for rebranded servers. You can remove this string by setting the Boolean PoweredBySisense value to false. |
| Emails |
The sender information and subject line text displayed in automated emails. For further customization, see Rebranding Emails. Note: Branded emails (for example, using the senderEmail and senderName parameters) will be used for new user/group invitation emails and password recovery emails. When sharing a dashboard report, or for subscription emails, the email will be sent without the original name and email of the dashboard's creator.
|
.PNG)
.PNG)
