Custom Code Transformation for Query Results
Last updated: June 11, 2026
| Tier | Deployment |
|
|
|
The Custom Code Transformation functionality enables you to use an integrated Jupyter Notebook to run Python code to transform the data that is displayed in a widget. This functionality allows you to transform a query result set in real-time.
If you are not familiar with Jupyter Notebooks, see What is the Jupyter Notebook?.
Note:
Custom Code Transformation is similar to the Custom Code functionality (see Custom Code for ElastiCube Builds) that is used to transform and cleanse data inside of an ElastiCube as part of the build process.
Sisense Notebooks (see Notebooks) is not related to either of these custom code features.
With Custom Code Transformation, you can:
- Enrich and transform your data in real time during a query
- Solve complex scenarios with a few lines of Python code
- Leverage any Python library to transform your data
- Augment your data by leveraging advanced ML models, either proprietary or 3rd party sources from within Sisense
- Enrich your data from external sources or generate it on the fly
- Empower dashboard designers to transform the data according to the relevant business dashboard context
Note:
This functionality is needs to be enabled by an Admin:
Admin tab > Feature Management > Advanced Analytics section > toggle on Custom Code Transformation.
From Sisense, Data Administrators can access the Jupyter UI to create Python Notebooks hosted on your Sisense server. After having created some custom Notebooks, Dashboard Designers can define what parameters should be processed by your Notebook.
Transforming Your Data
In this feature, you can access the Notebook library from the Analytics tab. Access it by editing any widget and clicking Add Transformation.
After you transform or cleanse your data with your Notebooks, the transformed result will appear in your widget once you go back to the widget editor.
Adding Notebooks
The library tiles displayed in your Notebook library are configured according to Notebook manifests. Each manifest holds the definitions for a single Notebook, including the text to display in the library, parameters to pass to the Notebook, and the column definitions for the output to be added to the data model.
This section describes how to create manifest files for your Notebooks and upload them.
Configuring a New Notebook
Each notebook is linked to the Notebook library by a Notebook manifest. The manifest is a JSON file that contains key-value pairs that display text in the Notebook library and defines the schema definitions for additional parameters that are passed to the Notebook.
When creating a new Notebook, Sisense provides an easy-to-use interface to help you automatically create a manifest file.
To automatically create a new manifest file:
-
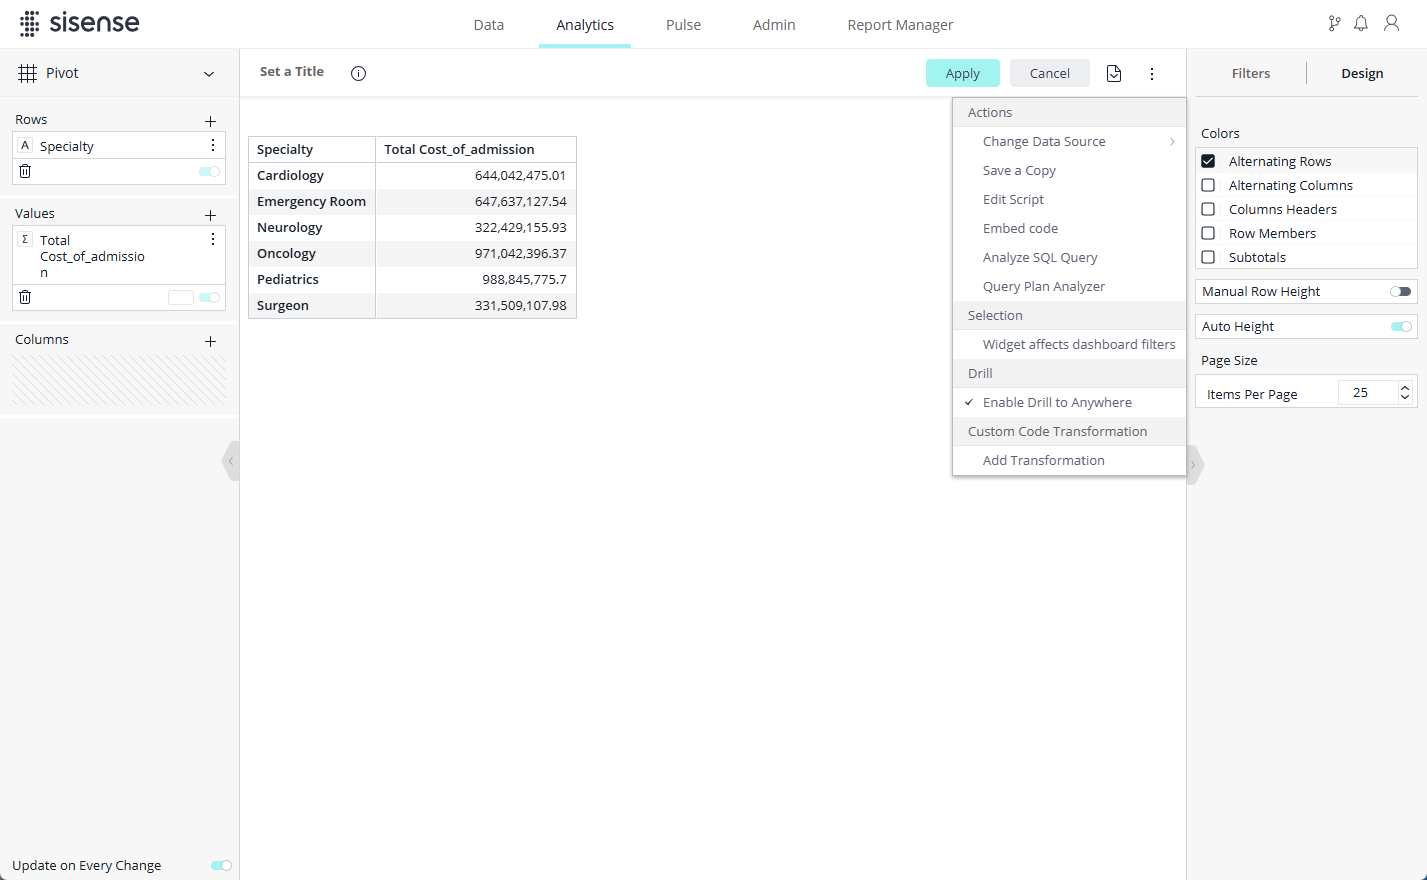
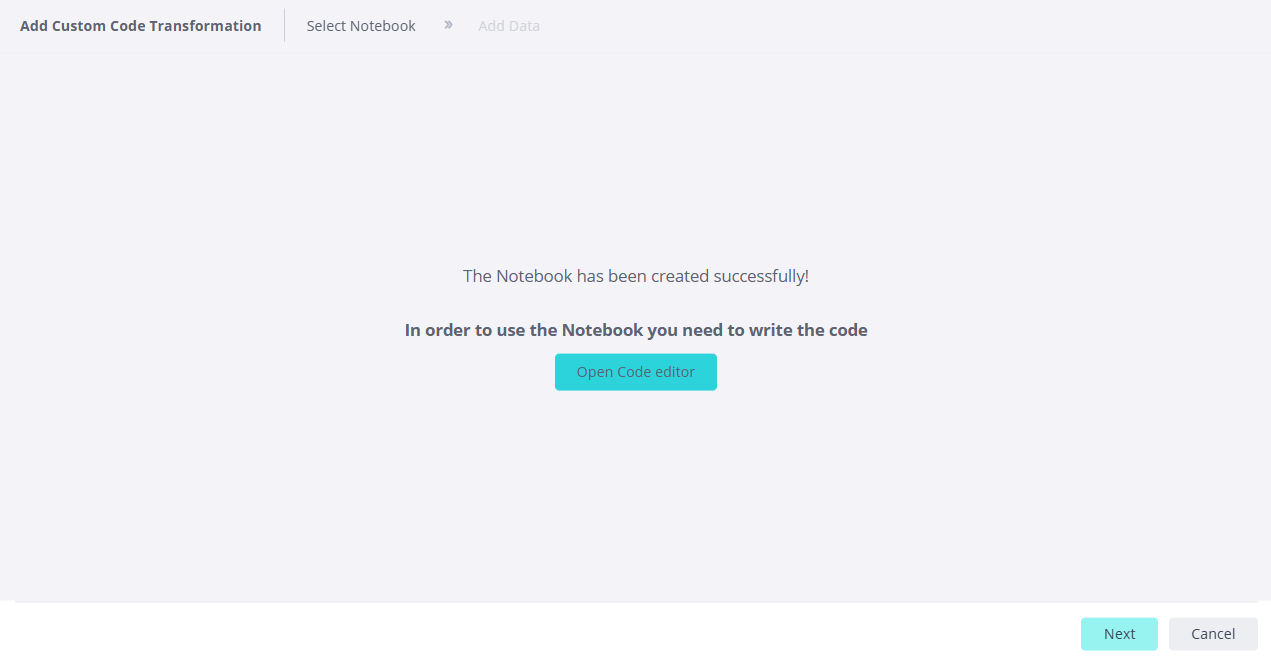
From any widget, enter the widget editor mode, and from the three dot menu, in the Custom Code Transformation section, click Add Transformation.
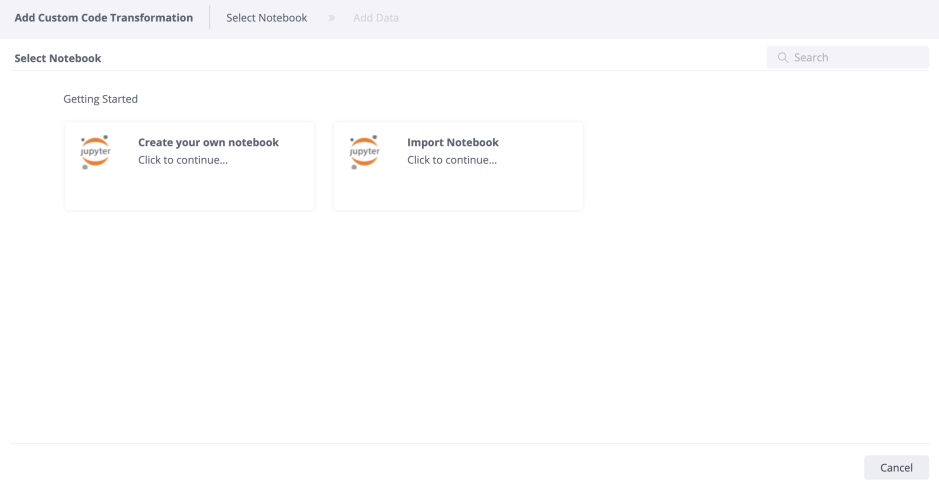
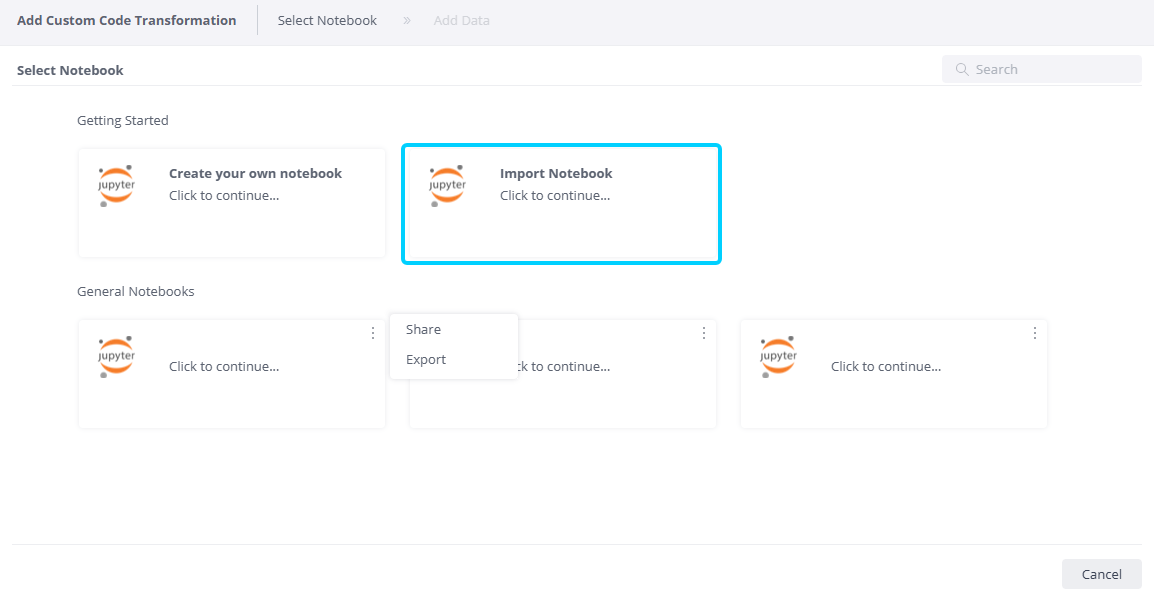
- Select a Notebook from the relevant category for your purposes. Click an existing Notebook, create a Notebook, or import a Notebook.
The Add Custom Code Transformation window is displayed.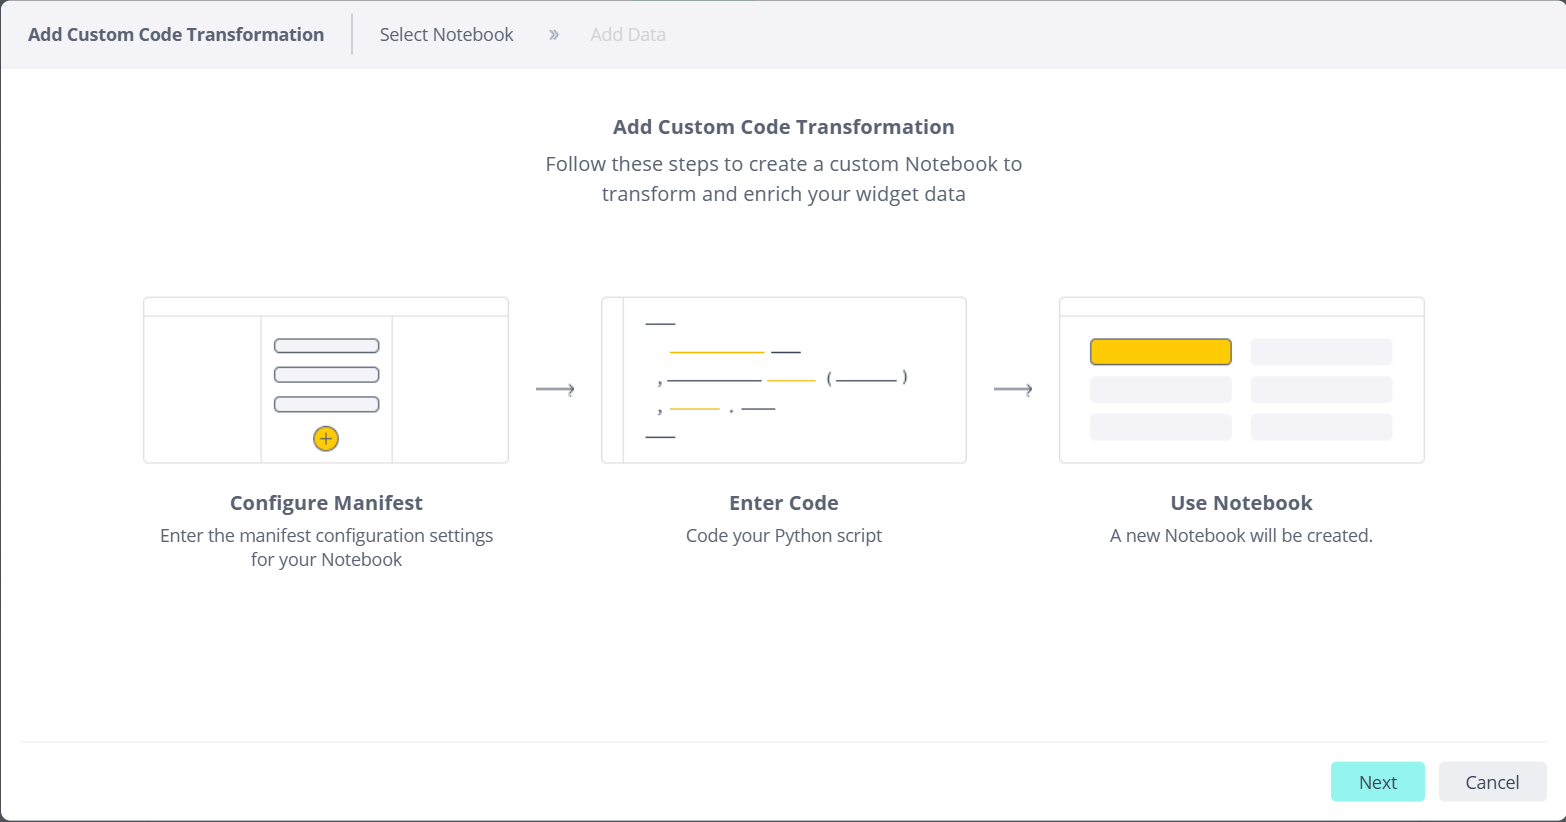
- Click Next.
- If you selected Create your own Notebook, begin configuring the manifest file for the Notebook. If you selected another Notebook, click Edit notebook to configure the Notebook.
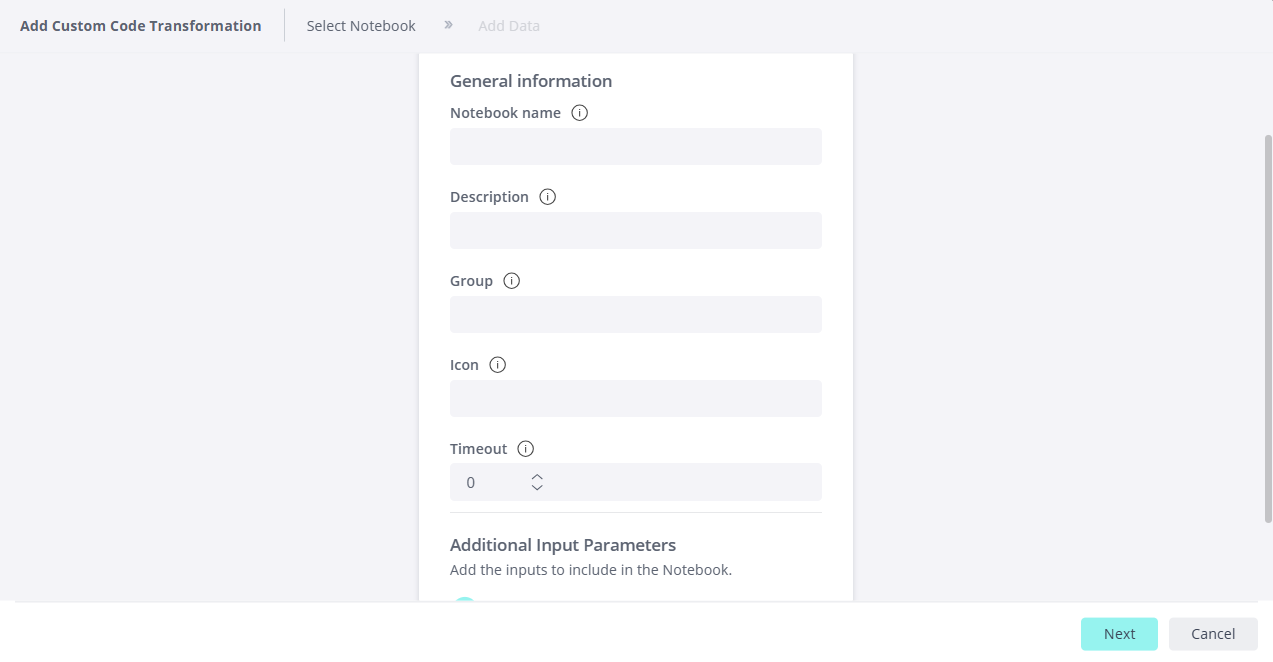
-
Enter the information for the Notebook.
-
Notebook name - Unique Notebook name
-
Description - The Notebook description to display in the Sisense Notebook Library
-
Group - Group notebooks together under Group Name, in Notebook Library, for instance "My Notebooks"
-
Icon - Enter a Base64 representation of an icon. If you leave this blank, it will display a Jupyter Notebook icon.
-
Timeout - Timeout in seconds
-
-
Click +Add Input to set the input parameters. Select an input type, enter the following parameters, and click Add:
- Input Type: Select the column type for this input type [Number, List, Text, Boolean]
- Input Title: The displayed name for the input type
- Input ID: The ID used in the Notebook for this input type
- Depending on the input type, you may need to define additional values
- Number requires adding the minimal and maximal values [Min value, Max value]
- List requires entering a list of strings that should be displayed
- Input Description: Add text that describes the input parameters (optional)
-
Click Next, fill in the input parameter you want to pass to the Notebook, and click Done. This will take you back to the newly transformed widget.
-
To revise the manifest configuration, or return to the Notebook gallery, return to the Custom Code Transformation menu from the Widget Editor. You will now have three options:
-
Enable Transformation - Enables/Disables the transformation on the current widget.
-
Edit Transformation - Returns you to the Notebook configuration page.
-
Remove Transformation - Disconnects the widget from the Notebook. This does not delete the Notebook.
-
Editing Notebooks
To edit an existing Notebook:
-
Open the Code editor.
-
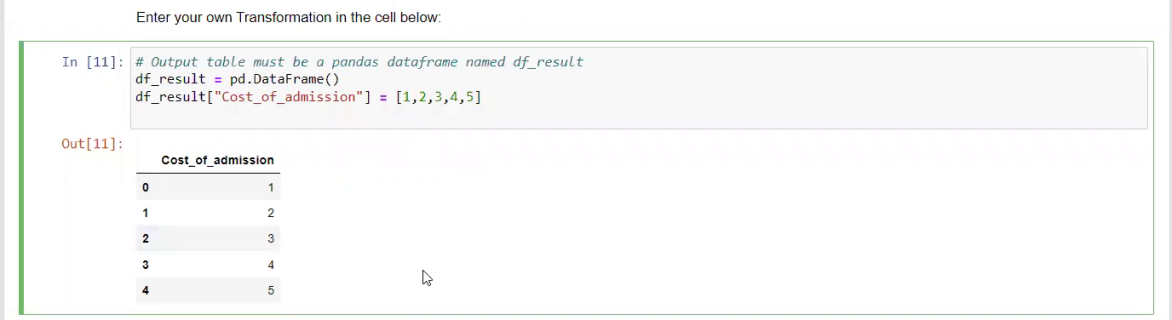
To edit the transformation, scroll down to the Transformation section, and enter your own transformation in the relevant cell.
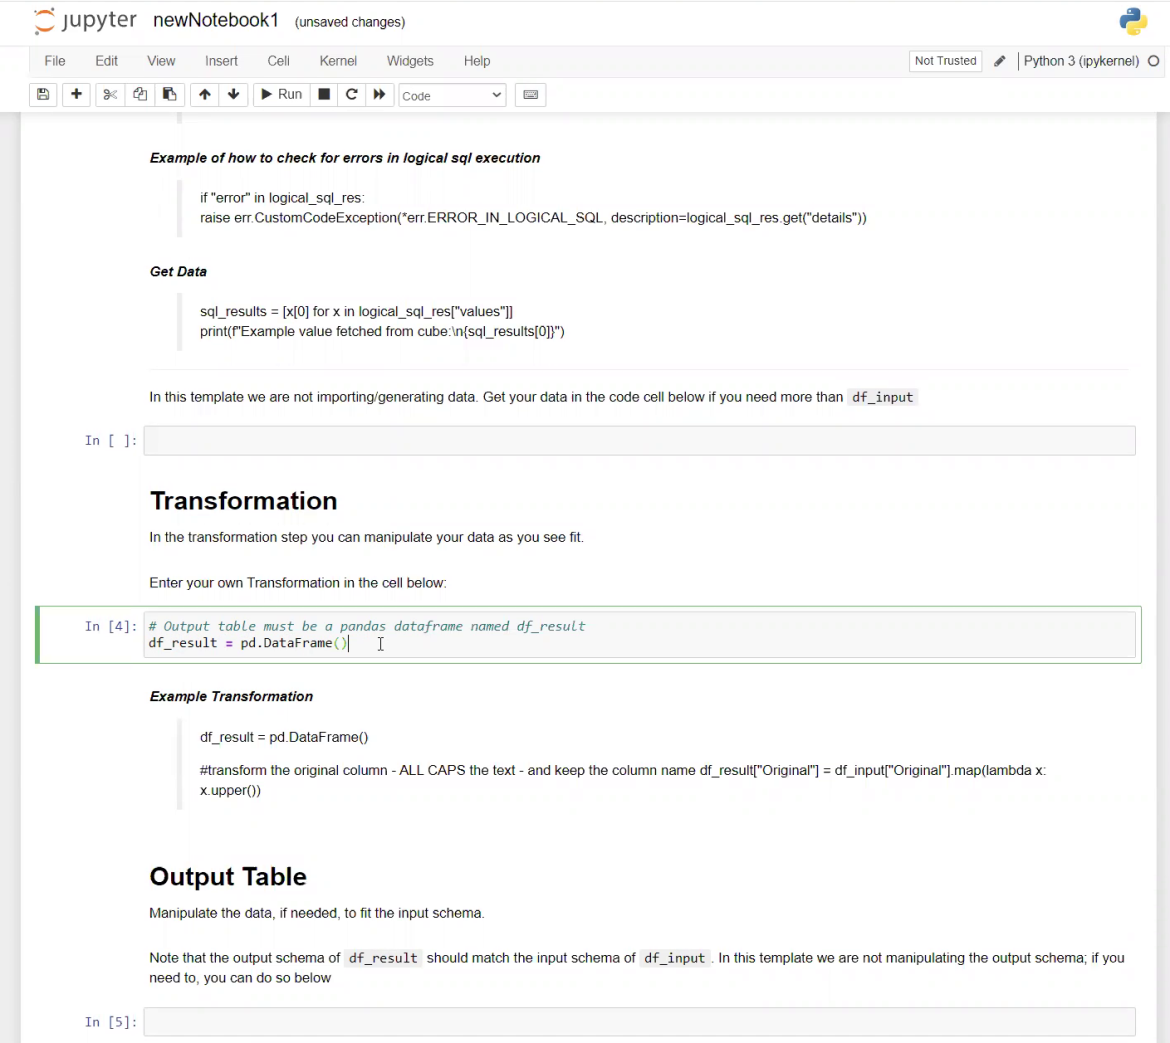
For example, see the following transformation, along with the output it generates (the output is generated by clicking Run in the top menu bar):
-
Save the Notebook and close the Code editor.
-
Click Next. The Widget Input Schema is displayed in the Notebook Configuration editor, showing your transformation.
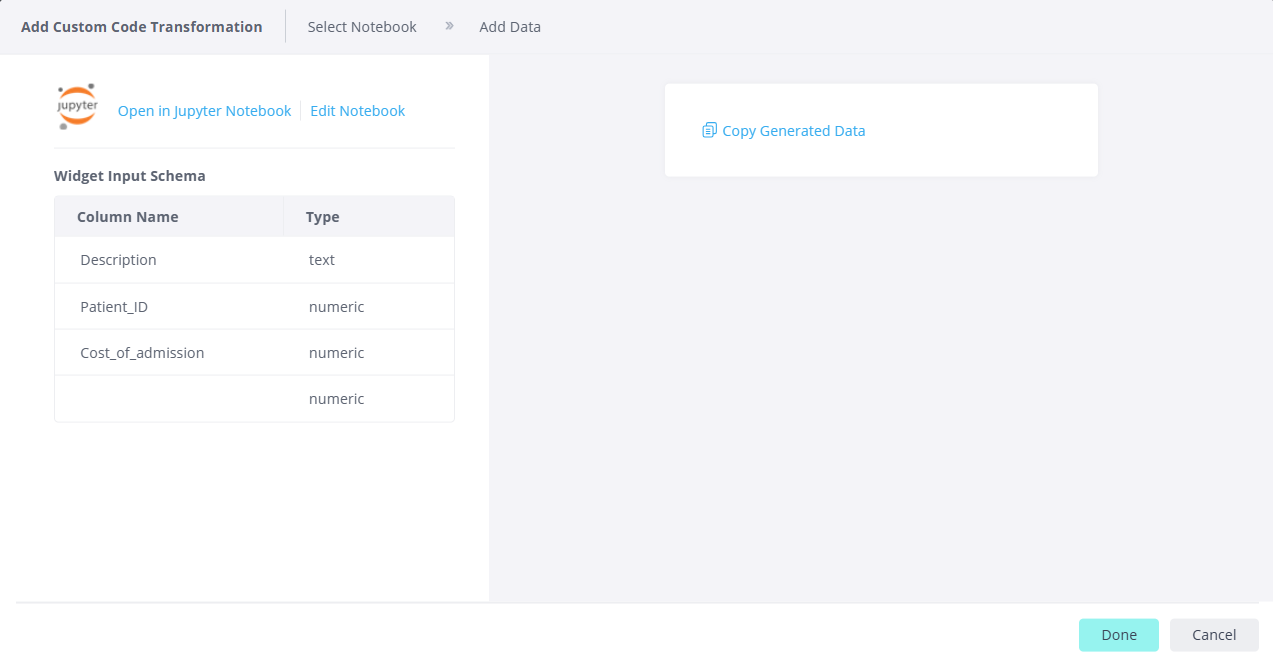
Note that if you added an input parameter, it is displayed in the Notebook Configuration editor, as in the image below. You are then also given an option to Copy Generated Data. This copies the input parameter with its value, in order for you to paste it in the first cell in the Notebook. This enables you to run the Notebook with the appropriate input; otherwise, the Notebook cannot be debugged through the Notebook interface.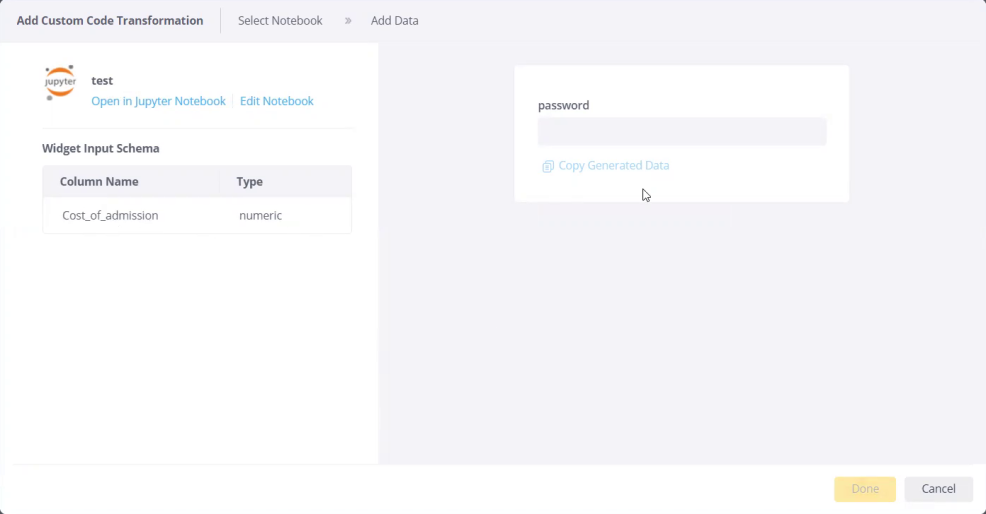
-
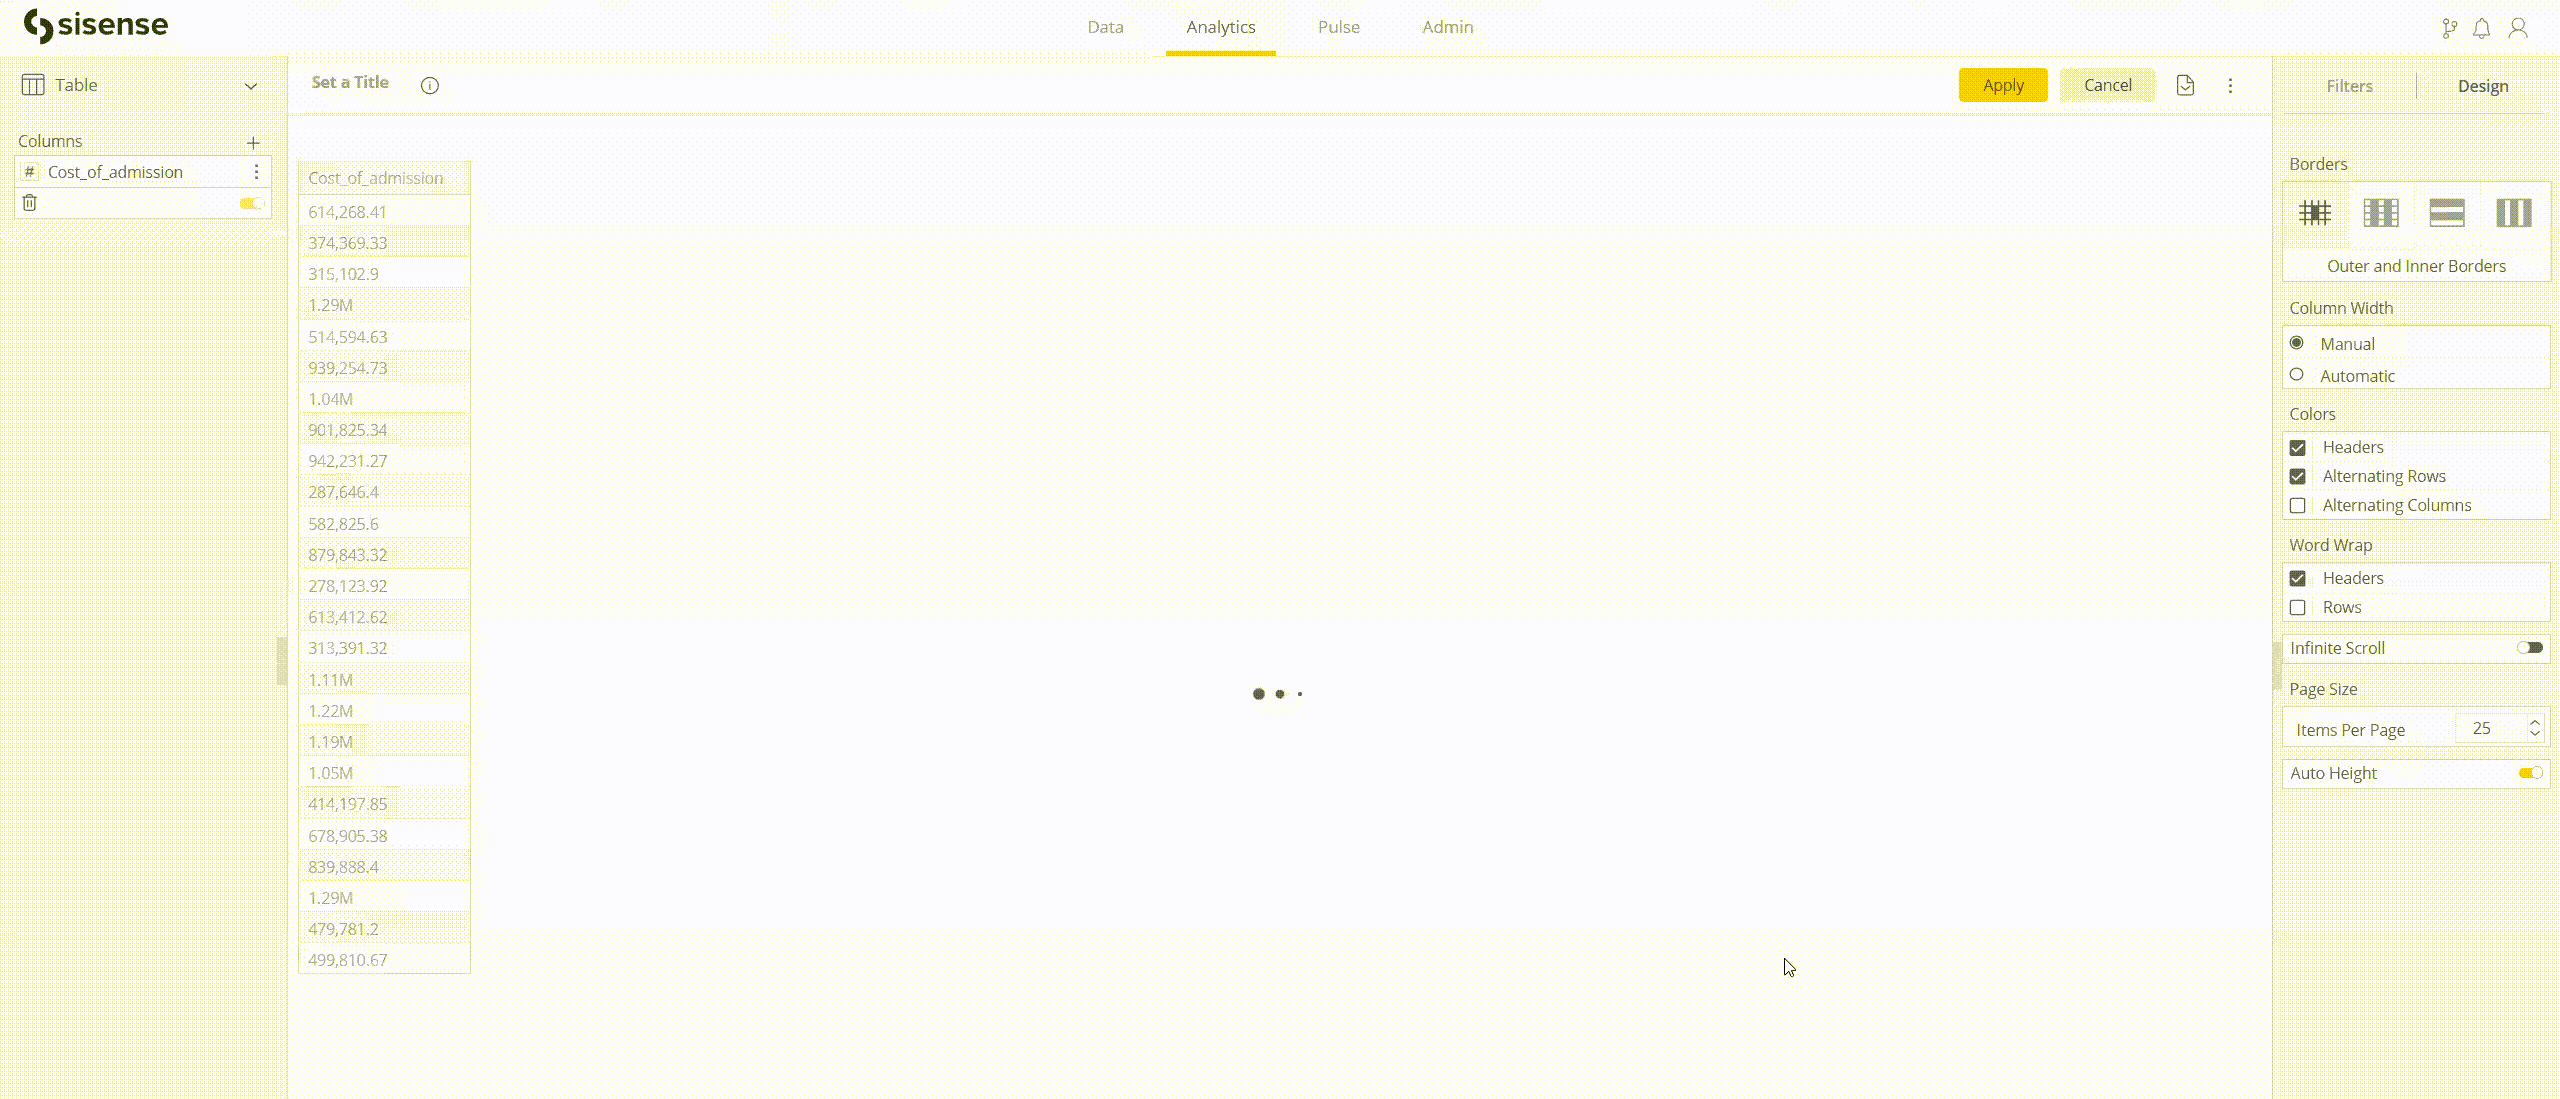
Click Done. You will see that the results are replaced with your Notebook.
Note:
The variables defined in the Test Cell are not accessible in subsequent cells.
-
-
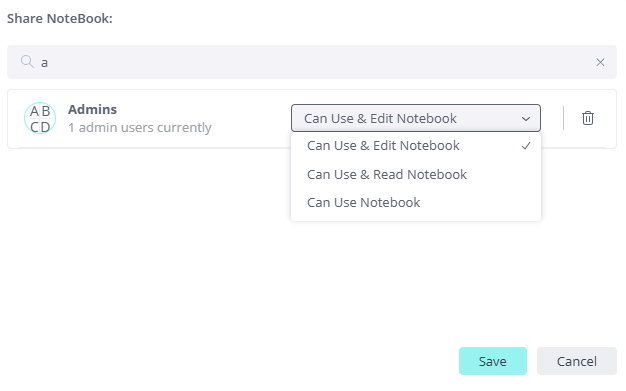
Click the three dot menu of the Notebook that you wish to share.
-
Click Share.
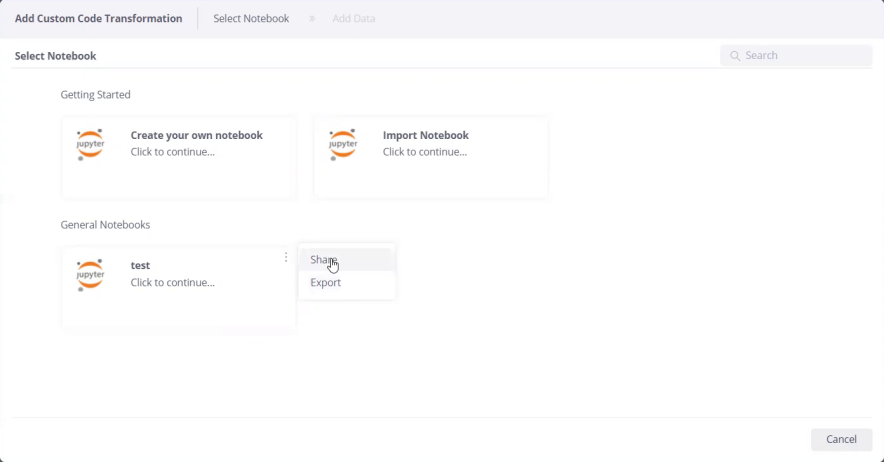
The Share NoteBook window opens.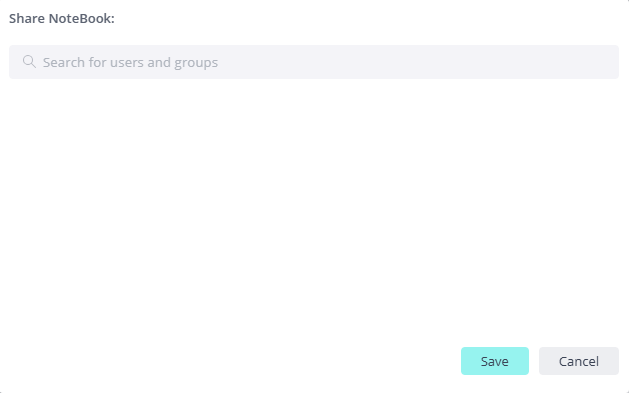
-
Search for and select the groups/users with whom you want to share the Notebook.
-
Click the drop-down menu next to the groups/users selected.
-
Select one of the three permission levels:
-
Can Use & Edit Notebook - provides permissions to edit the Notebook contents as well as to run the Notebook.
-
Can Use & Read Notebook - provides permissions to view the Notebook contents (but not to edit) as well as to run the Notebook.
-
Can Use Notebook - provides permissions to run the Notebook without being able to view its contents.
-
Click Save.
Sharing and Exporting Notebooks
To share a Notebook with other users:
If you have "Can Use & Read Notebook" permission, but you want to edit the Notebook contents, you can export the Notebook, which downloads a copy that you can edit (without affecting the original Notebook).
To export a Notebook:
-
Click the three dot menu of the Notebook that you wish to export.
-
Click Export.
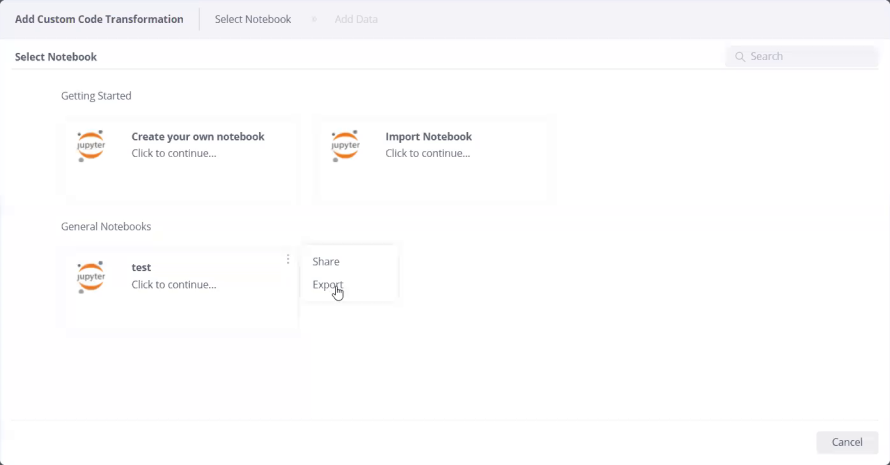
A copy of the Notebook is downloaded as a .sipynb file.To import a Notebook that you exported: in the Select Notebook window, click Import Notebook.
Limitations
-
Pivot tables are not supported.
-
The variables defined in the Test Cell are not accessible in subsequent cells.
-
When debugging, only up to 256 rows are displayed (within Jupyter Notebook) for custom code transformations. When the transformation itself is successful, the widget correctly shows the full result set.