Storing ElastiCubes on S3
If you have configured AWS for Sisense, you can upload your ElastiCubes on S3 instead of shared storage. While you can use shared storage for your ElastiCubes, storing ElastiCubes on S3 works well when you have small to medium sized ElastiCubes, up to a maximum 40 GB.
If S3 storage is chosen, then build on local storage is required. These settings are controlled through the data groups (explained below). ElastiCubes stored locally are built from the default location /opt/sisense/local_storage (this path can be configured in System Management).
Note:
Sisense recommends that you mount an NVMe type disk for better performance.
If you build your ElastiCubes on S3, the ElastiCube data files are compressed and stored as .tar.gz files on S3. Sisense does not delete previous ElastiCubes from S3. You must define an S3 policy to delete old files after a certain amount of days depending on your build policy and ensure you have enough storage to support the ElastiCubes.
Note:
AWS should be configured already and your AWS Secret Key and Access Key should be defined on the cluster level. You can configure these through the aws-i-am-authenticator.
Configuring Sisense to store ElastiCubes on S3 is done through the Data Group settings with the specific S3 bucket information maintained in Configuration Manager.
Note:
This configuration can also be done via the Sisense CLI, which can be useful for automation, as described in Using Sisense CLI Commands.
Data Groups
In order to use the build on local and S3 settings, the data group in which the cube belongs to must be configured to use this functionality. To enable it within the web application:
-
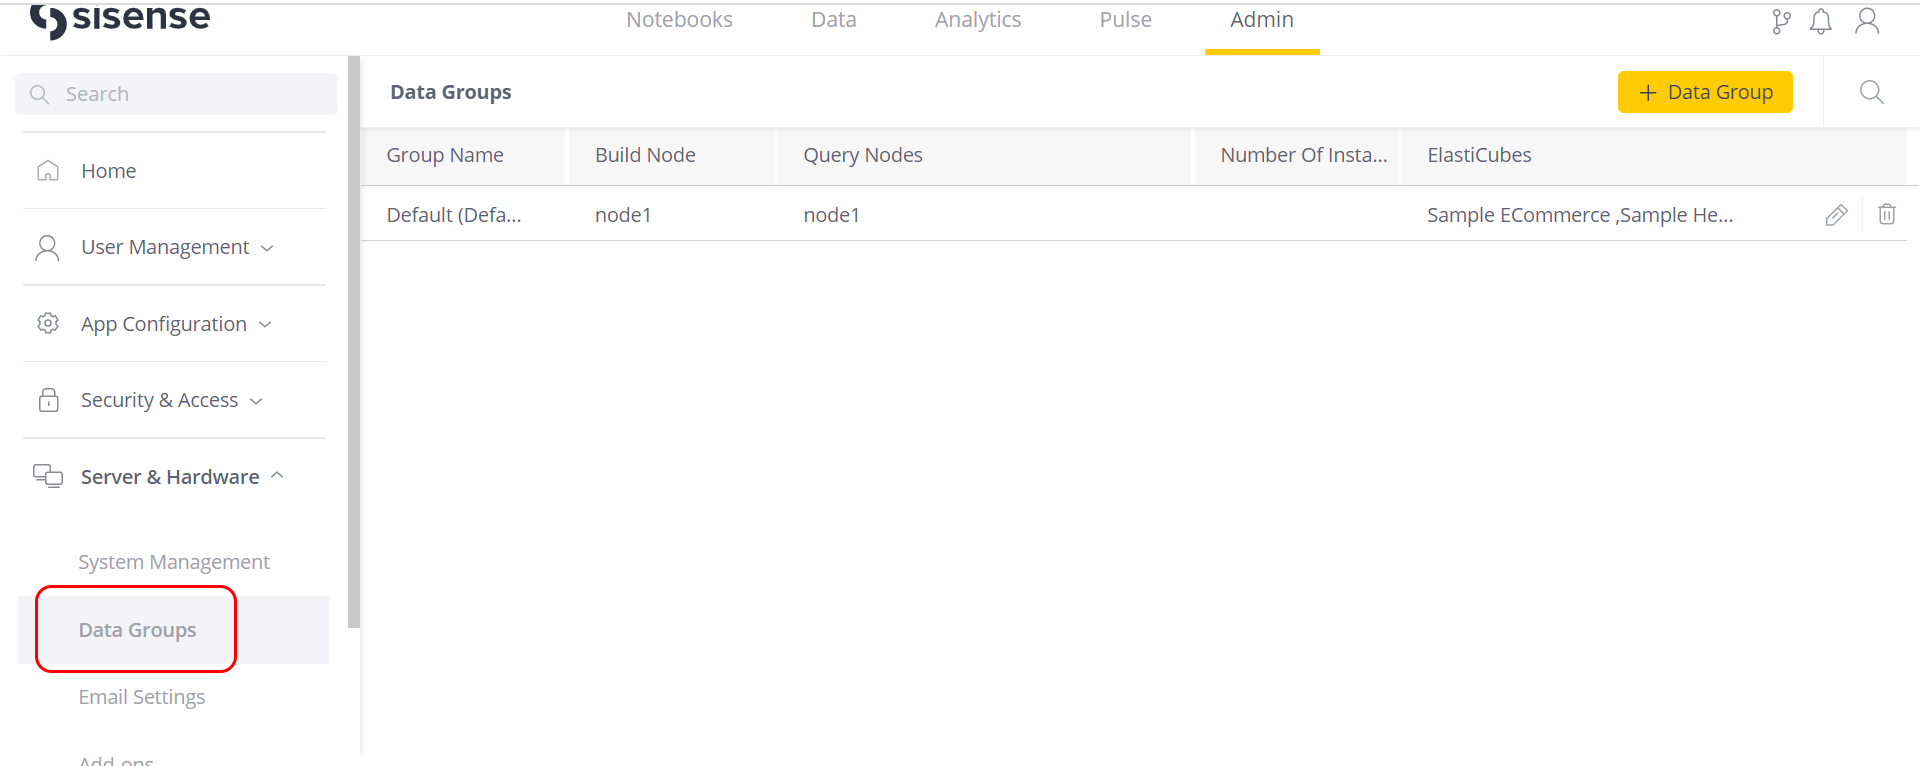
Open the Admin page and under Server & Hardware, select Data Groups.

-
Select the data group that contains the relevant cube, or the default group if separate groups have not been configured.
-
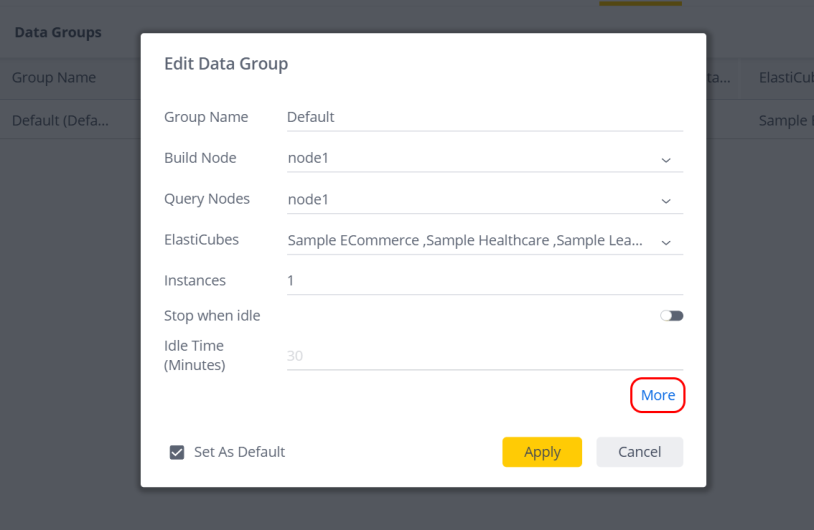
Click the pencil icon for the data group to be edited. Alternatively, you can also choose to create a new data group (see Creating Data Groups) by clicking + Data Group.

-
In the Edit Data Group window, click More.

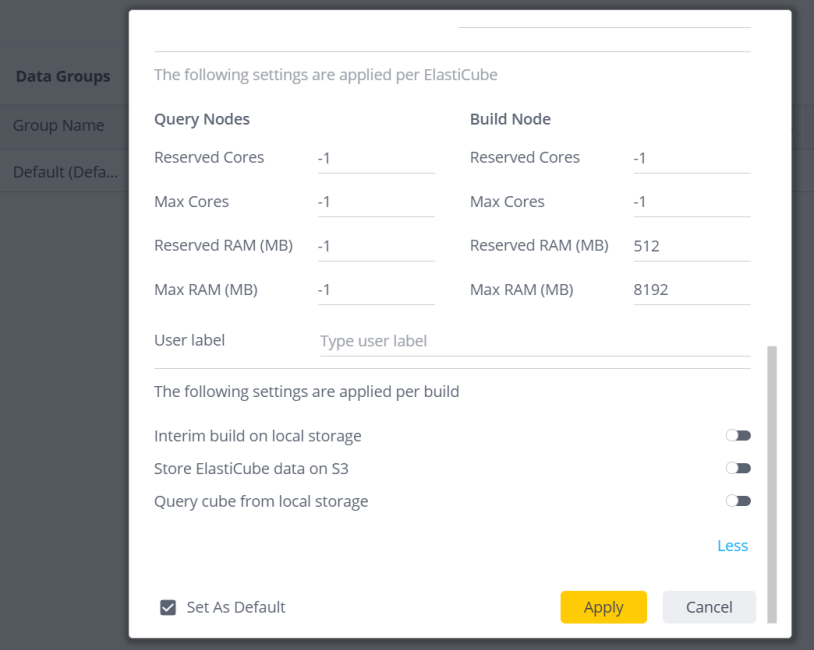
All of the Edit Data Group options are displayed.

-
Configure the following settings (see Creating Data Groups, step 4, sub-steps l-m):
-
Interim build on local storage
-
Store ElastiCube data on S3
Note:
If “Store Elasticube data on S3” is toggled on, “Interim build on local storage” will automatically be toggled on, as it is required for this functionality.
Configuration Manager
- In Sisense, open the Admin page, search for and select System
Management which is located under Server & Hardware, and click
Configuration.
.png)
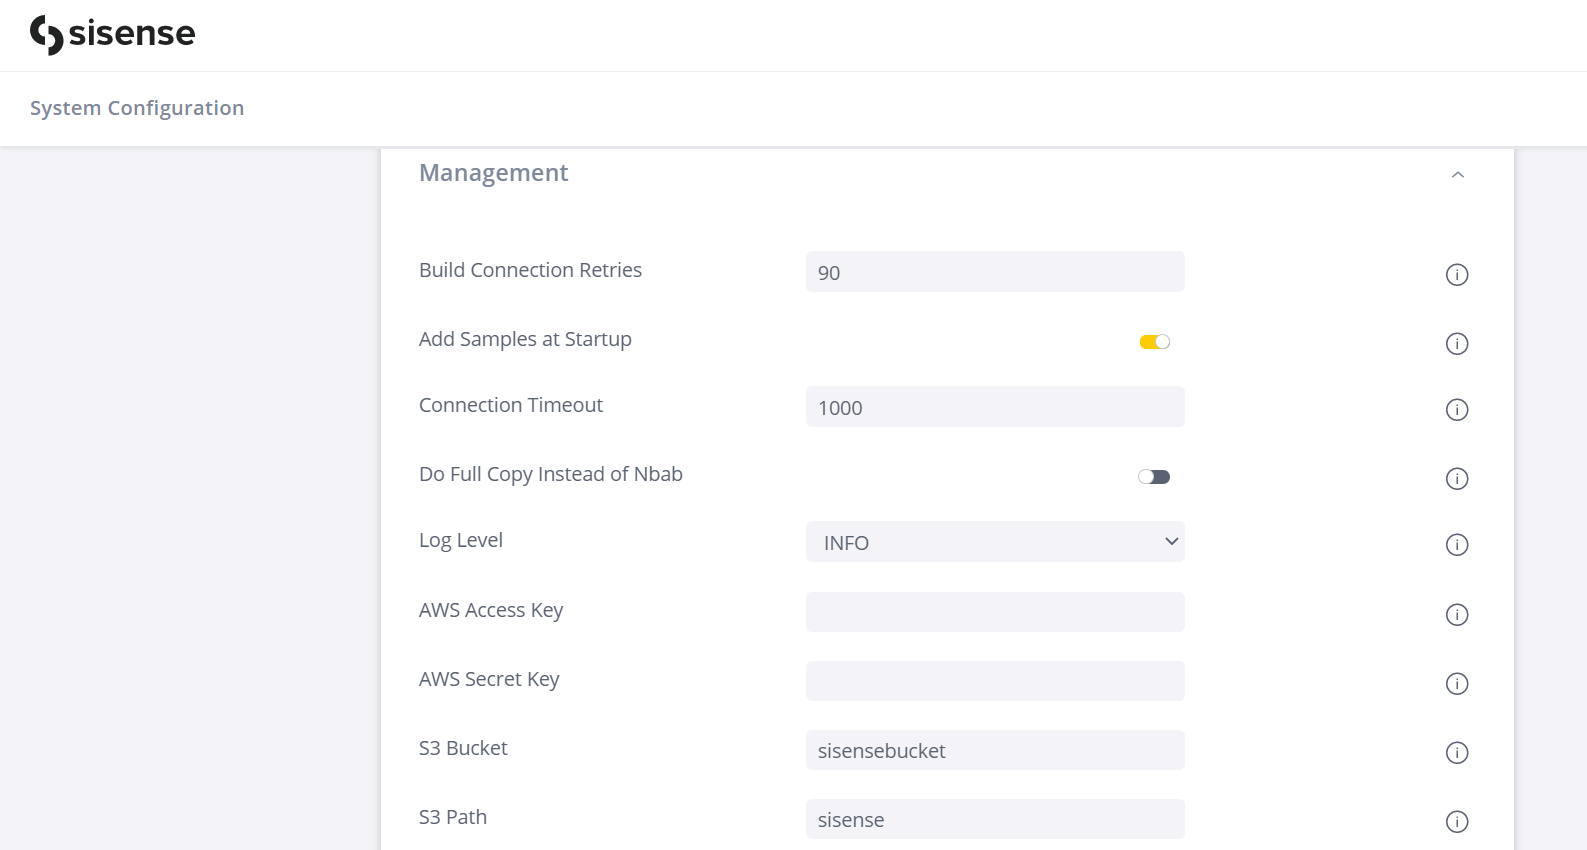
- In the System Configuration window, open the Management drop-down section.

- Enter the following information:
- AWS Access Key: Optional, AWS-specific. Enter your AWS Access Key for automated connecting to AWS resources.
- AWS Secret Key: Optional, AWS-specific. Enter your AWS Secret Key for automated connecting to AWS resources.
- S3 Bucket: Enter the name of your S3 bucket where the ElastiCubes are to be stored.
- S3 Path: Enter the S3 file path where your ElastiCubes are to be stored.
- Click Save.