Connecting to SingleStore
Sisense enables easy and quick access to databases, tables, and views contained with SingleStore databases.
You can import your data into a Sisense ElastiCube , or connect your data to a Sisense Live model, using Introducing Live Models.
Note:
SingleStore (formerly MemSQL) for Linux is supported from Sisense v7.4.3.
Importing Data from SingleStore
To import data from your SingleStore database:
-
In the Data page, open an ElastiCube model or create a new ElastiCube.
-
In the Model Editor, click
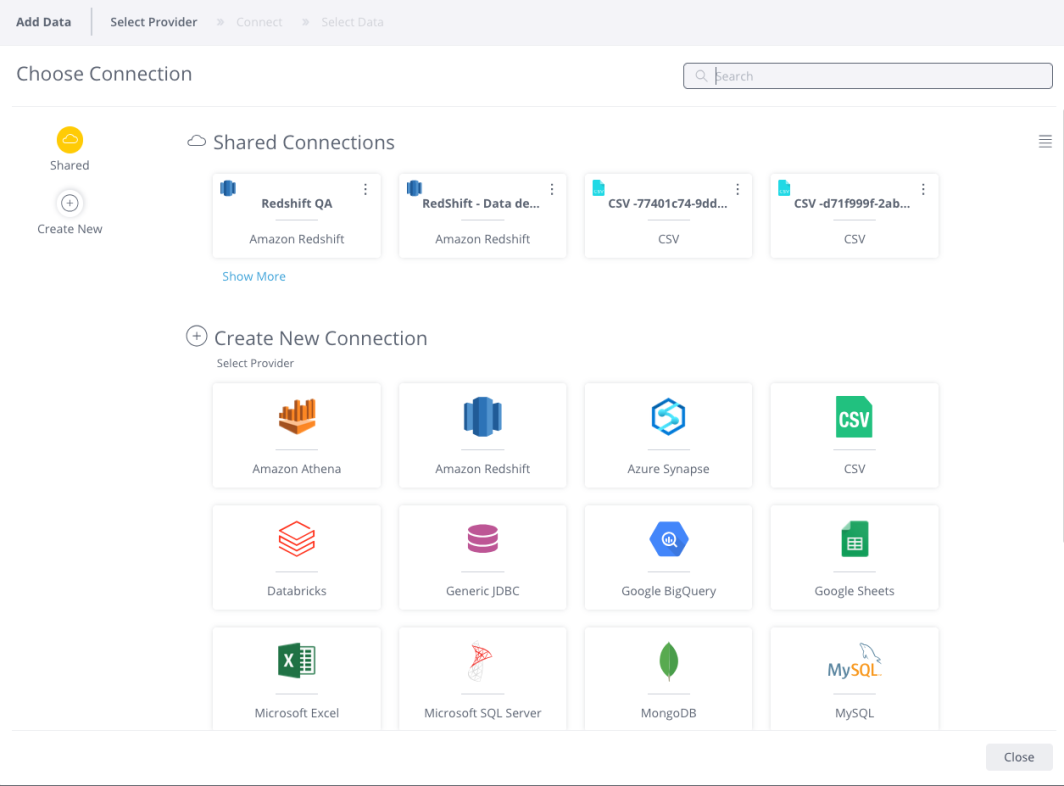
 . The Choose Connector window is displayed.
-
Choose an available managed connection, or create a new connection, for SingleStore. The SingleStore area is displayed.
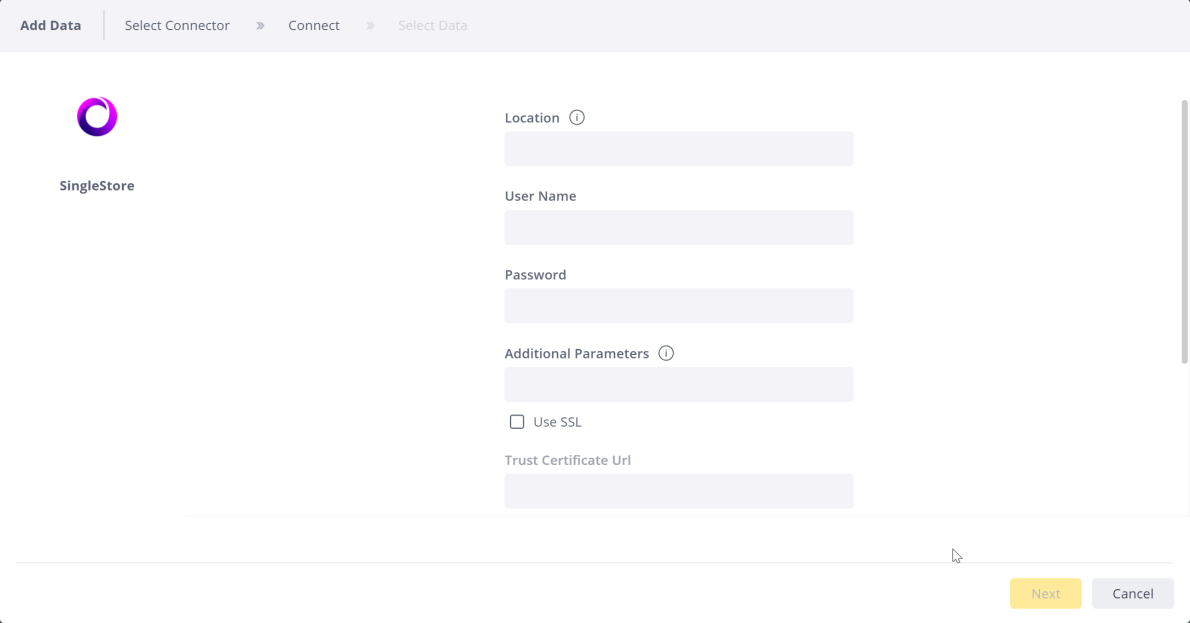
- Enter the following details:
- Location: Enter the computer/server IP address of the database. To connect to a database running on your own computer enter localhost.
- In the User Name and Password fields, enter your database credentials.
- (Optional) In Additional Parameters, enter additional configuration options by appending key-value pairs to the connection string (e.g., Timeout=60;). For a full list of connection string options, click here .
- (Optional) Select Use SSL if you are connecting to an SSL server. There are several options and requirements for connecting with SSL. See Connecting to SingleStore with SSL for more information.
- Click
 . A list of tables in
the database are displayed. All tables and views associated with the database will appear in a new window.
- From the Tables list, select the relevant table or view you want to work with. You can click
 next to the relevant table or view to see a preview of the data inside it.
- (Optional) Click + to customize the data you want to import with SQL. See Importing Data with Custom Queries for more information.
- After you have selected all the relevant tables, click Done. The tables are added to your schema in Sisense.
Connecting to SingleStore with SSL
You can connect to your SingleStore database with a secure connection in Sisense. There are three options for connecting securely:
-
SSL with no certificates : If you connect with no certificate and your SingleStore database requires only a secure connection with your credentials. Select the SSL checkbox.
-
SSL with a Trust Certificate : If you connect with a Trust certificate, select the SSL checkbox and enter the location of your certificate and the password. The location should be in the format:
file:C:\tmp\truststore.jkswith the prefix file: and the location of your .jks Trust certificate. If your Trust certificate is stored as a .pem file, the certificate must be converted to .jks. See Converting PEM Certificates to JKS for more information. -
SSL with a Client Certificate: If you connect with a Trust and Client certificate, select the SSL checkbox and enter the location of your Trust and Client certificates and the passwords. The location should be in the format:
file:C:\tmp\keystore.jkswith the prefix file: and the location of your .jks Trust and Client certificates. If your Trust certificate is stored as a .pem file, the certificate must be converted to .jks. See Converting PEM Certificates to JKS for more information.
Converting PEM Certificates to JKS
Sisense connects to SingleStore via the Sisense Java Database Connectivity (JDBC) connector. If you connect with SSL using a Trust or Client certificate, the files must be converted from a PEM file to a Java KeyStore file (JKS). Java KeyStore files can be used for communication between components that are configured for SSL.
The procedure below describes how you can convert a PEM file to a JKS file with two third-party utilities, OpenSSL and Git Bash.
To convert a PEM file to JKS:
-
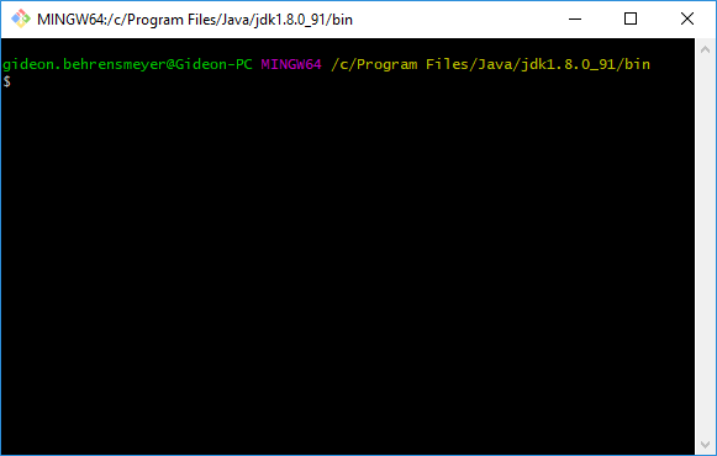
In your Java bin directory, open Git Bash. The location of the bin directory is typically, C:\Program Files\Java\jdk1.8.0_191\jre\bin where jdk1.8.0_191 is the version of Java installed on your machine.
-
In Git Bash, enter the commands listed below that are relevant for your use case and press Enter. The bolded placeholders should be replaced by the values described below.
Trust Certificate
This commands convert your PEM Trust certificate file to JKS.keytool -importcert -alias MySQLCACert -file **ca.pem** -keystore **truststore.jks** -storepass **mypassword**Trust and Client Certificate
These commands convert your PEM file to P12, and then the second command converts the P12 file to JKS.
openssl pkcs12 -export -in **client-cert.pem** -inkey **client-key.pem** -name "mysqlclient" -passout pass: **mypassword** -out **client-keystore.p12** keytool -importkeystore -srckeystore client-keystore.p12 -srcstoretype pkcs12 -srcstorepass **mypassword** -destkeystore **keystore.jks** -deststoretype JKS -deststorepass **mypassword**
After running these commands, you should enter the location of certificates as the values of the Trust and Client Certificate fields.
-
Ca.pem: The full path of authority file (for example, C:\Users\Public\ca.pem).
-
truststore.jks:The full path (with truststore.jks) for the new file.
-
mypassword: The password for your certificate.
-
client-cert.pem: The full path of your PEM certificate file (for example, C:\Users\Public\cert.pem).
-
client-key.pem: The full path of your PEM private key file (for example, C:\Users\Public\key.pem)
-
client-keystore.p12: The full path (with name.p12) for your new .p12 file.
-
keystore.jks: The full path (with client.jks) for your new file path.
Troubleshooting
Out-of-Memory Issues
When building an ElastiCube with this connector, you might receive an "out of memory" error. To add more memory, see Troubleshooting Performance Issues.
Adding a SingleStore Live Connection
To add aSingleStore live connection:
-
In the Data page, open a Live model or create a new Live model.
-
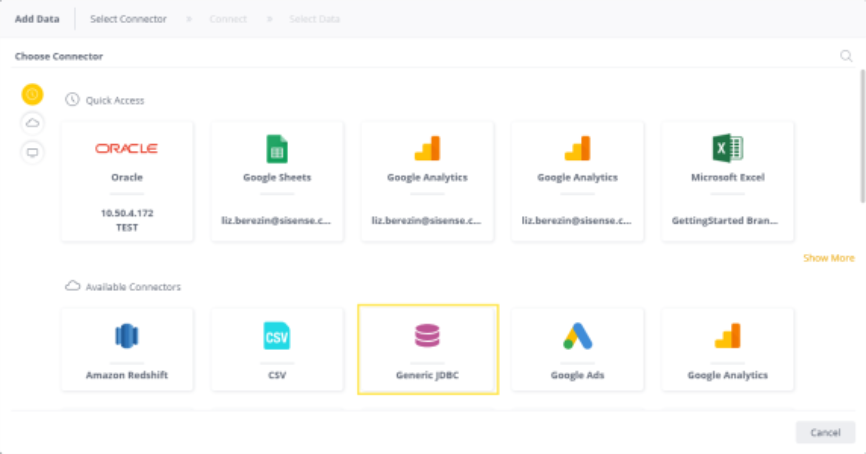
In the Model Editor, click
 . The Add Data dialog box is displayed.
-
Enter the following details:
- Location : Enter the computer/server IP address of the database. To connect to a database running on your own computer enter localhost.
- In the User Name and Password fields, enter your database credentials.
- (Optional) In Additional Parameters, enter additional configuration options by appending key-value pairs to the connection string (e.g., Timeout=60;). For a full list of connection string options, click here.
-
(Optional) Select Use SSL if you are connecting to an SSL server. There are several options and requirements for connecting with SSL. See Connecting to SingleStore with SSL for more information.
-
Click
 . A list of tables
in the database are displayed. All tables and views associated with the database will appear in a new
window.
 -
From the Tables list, select the relevant table or view you want to work with. You can click

next to the relevant table or view to see a preview of the data inside it. -
(Optional) Click + to customize the data you want to import with SQL. See Importing Data with Custom Queries for more information.
-
After you have selected all the relevant tables, click Done. The tables are added to your schema in Sisense.
Connecting to MSQL with SSL
You can connect to your SingleStore database with a secure connection in Sisense. There are three options for connecting securely:
-
SSL with no certificates: If you connect with no certificate and your SingleStore database requires only a secure connection with your credentials. Select the SSL checkbox.
-
SSL with a Trust Certificate: If you connect with a Trust certificate, select the SSL checkbox and enter the location of your certificate and the password. The location should be in the format:
file:C:\tmp\truststore.jkswith the prefix file: and the location of your .jks Trust certificate. If your Trust certificate is stored as a .pem file, the certificate must be converted to .jks. See Converting PEM Certificates to JKS for more information. -
SSL with a Client Certificate: If you connect with a Trust and Client certificate, select the SSL checkbox and enter the location of your Trust and Client certificates and the passwords. The location should be in the format:
file:C:\tmp\keystore.jkswith the prefix file: and the location of your .jks Trust and Client certificates. If your Trust certificate is stored as a .pem file, the certificate must be converted to .jks. See Converting PEM Certificates to JKS for more information.
Converting PEM Certificates to JKS
Sisense connects to SingleStore via the Sisense Java Database Connectivity (JDBC) connector. If you connect with SSL using a Trust or Client certificate, the files must be converted from a PEM file to a Java KeyStore file (JKS). Java KeyStore files can be used for communication between components that are configured for SSL.
The procedure below describes how you can convert a PEM file to a JKS file with two third-party utilities, OpenSSL and Git Bash.
To convert a PEM file to JKS:
-
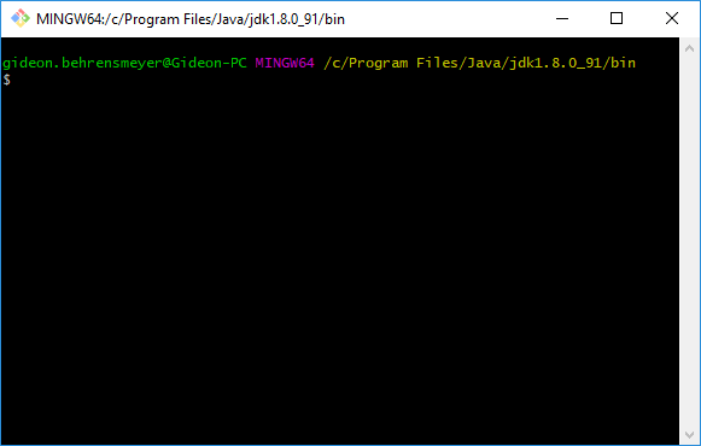
In your Java bin directory, open Git Bash. The location of the bin directory is typically, C:\Program Files\Java\jdk1.8.0_191\jre\bin where jdk1.8.0_191 is the version of Java installed on your machine.
-
In Git Bash, enter the commands listed below that are relevant for your use case and press Enter. The bolded placeholders should be replaced by the values described below.
Trust Certificate
This commands convert your PEM Trust certificate file to JKS.keytool -importcert -alias MySQLCACert -file **ca.pem** -keystore **truststore.jks** -storepass **mypassword**Trust and Client Certificate
These commands convert your PEM file to P12, and then the second command converts the P12 file to JKS.
openssl pkcs12 -export -in **client-cert.pem** -inkey **client-key.pem** -name "mysqlclient" -passout pass: **mypassword** -out **client-keystore.p12** keytool -importkeystore -srckeystore **client-keystore.p12** -srcstoretype pkcs12 -srcstorepass **mypassword** -destkeystore **keystore.jks** -deststoretype JKS -deststorepass **mypassword**
After running these commands, you should enter the location of certificates as the values of the Trust and Client Certificate fields.
-
Ca.pem: The full path of authority file (for example, C:\Users\Public\ca.pem).
-
truststore.jks:The full path (with truststore.jks) for the new file.
-
mypassword: The password for your certificate.
-
client-cert.pem: The full path of your PEM certificate file (for example, C:\Users\Public\cert.pem).
-
client-key.pem: The full path of your PEM private key file (for example, C:\Users\Public\key.pem)
-
client-keystore.p12: The full path (with name.p12) for your new .p12 file.
-
keystore.jks: The full path (with client.jks) for your new file path.