Uploading CSV and Excel Files
When uploading CSV or Excel files to the Customer Data FTP directory, how you access this folder from the desktop
ElastiCube Manager differs from the Sisense Web Application. The instructions for both are provided below.
To use the Desktop ElastiCube Manager:
-
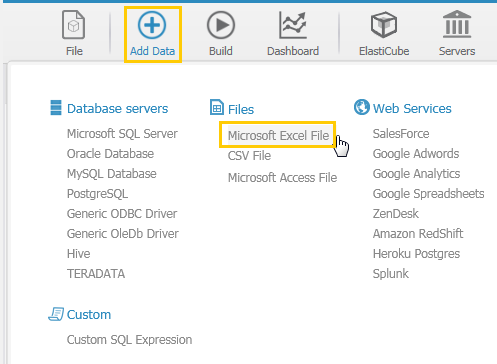
Click Add Data in the top menu of Sisense.
-
Under the Files category select Microsoft Excel File.
-
In the window that opens, locate the Excel file.
To use the Sisense Web Application:
- In the Data page, open an ElastiCube or create a new ElastiCube.
- In the ElastiCube, click
 . The Add Data dialog box is
displayed.
. The Add Data dialog box is
displayed.
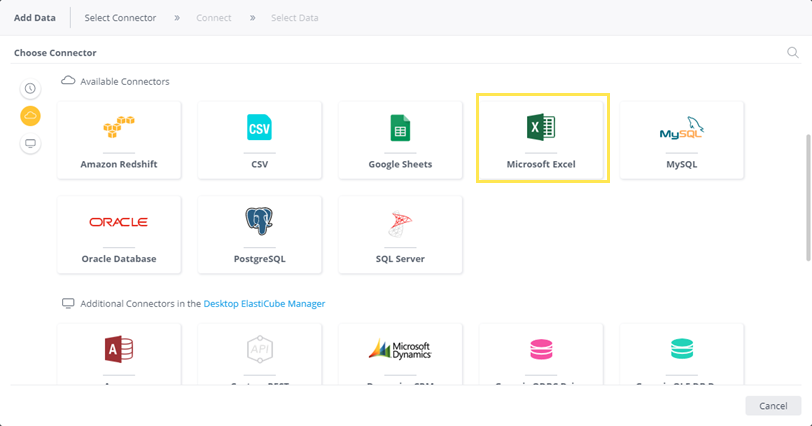
- Click Microsoft Excel. The Microsoft Excel Connect area is displayed.
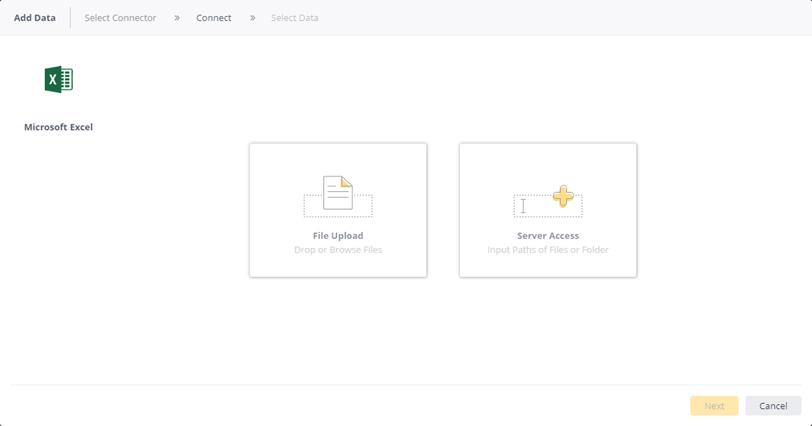
- Select Server Access to define the location of your files on the Sisense Server. If your Excel files frequently change, or you have scheduled builds, you should place your files on your server as the data is taken from the Excel files each time the ElastiCube is built.
Note:
To use this option, you must have remote access to the server.
-
Select Input Folder Path and enter the full file path with the file name where your Excel files are located. This will display each Excel file in the folder in the next screen where you select what tables to add to the ElastiCube.
Or
-
Select Input File Path and enter the full file path with the file name and its extension of your Excel file. For example,
C:\Example.xlsx. This file display all the tables in the Excel file on the next screen where you select what tables to add to the ElastiCube.
If you need to access any other folder or are having issues connecting and using the application, submit a ticket through Support.sisense.com.