Personalization Parameters for Live Data Sources
Last updated: June 29, 2026
| Tier | Deployment |
|
|
|
Sisense supports the use of parameters, set by a data designer, to personalize interaction with live data sources.
Example:
-
A data designer can configure a connection string with parameters that can be populated with the client's specific connection details for the part of the connection string that are specific to each client, such as the IP address. In this way, for example, a single connection to a specific data source can be created for all customers, and only each customers personalized part needs to be stored in parameters. This is far easier to maintain than a set of individual connections, one for each client.
-
A data designer can create user parameters that control the values or display formats of particular fields. In this way, for example, an amount can be displayed in the preferred currency of each client, rather than requiring a separate widget for each currency.
The use of these personalization parameters provides data designers with increased flexibility, and saves a lot of time. Fewer items need to be maintained, for example, connections and widgets, while allowing full flexibility to personalize each item to the customer's needs. After creating an item, the data designer only needs to maintain the items' parameter values, rather than having to maintain individual items for each customer.
For further information, see:
Data designers can define user parameters that are used to personalize the way in which data is displayed to viewers, and which value they see.
To set user parameters for live data sources, the data designer needs to:
-
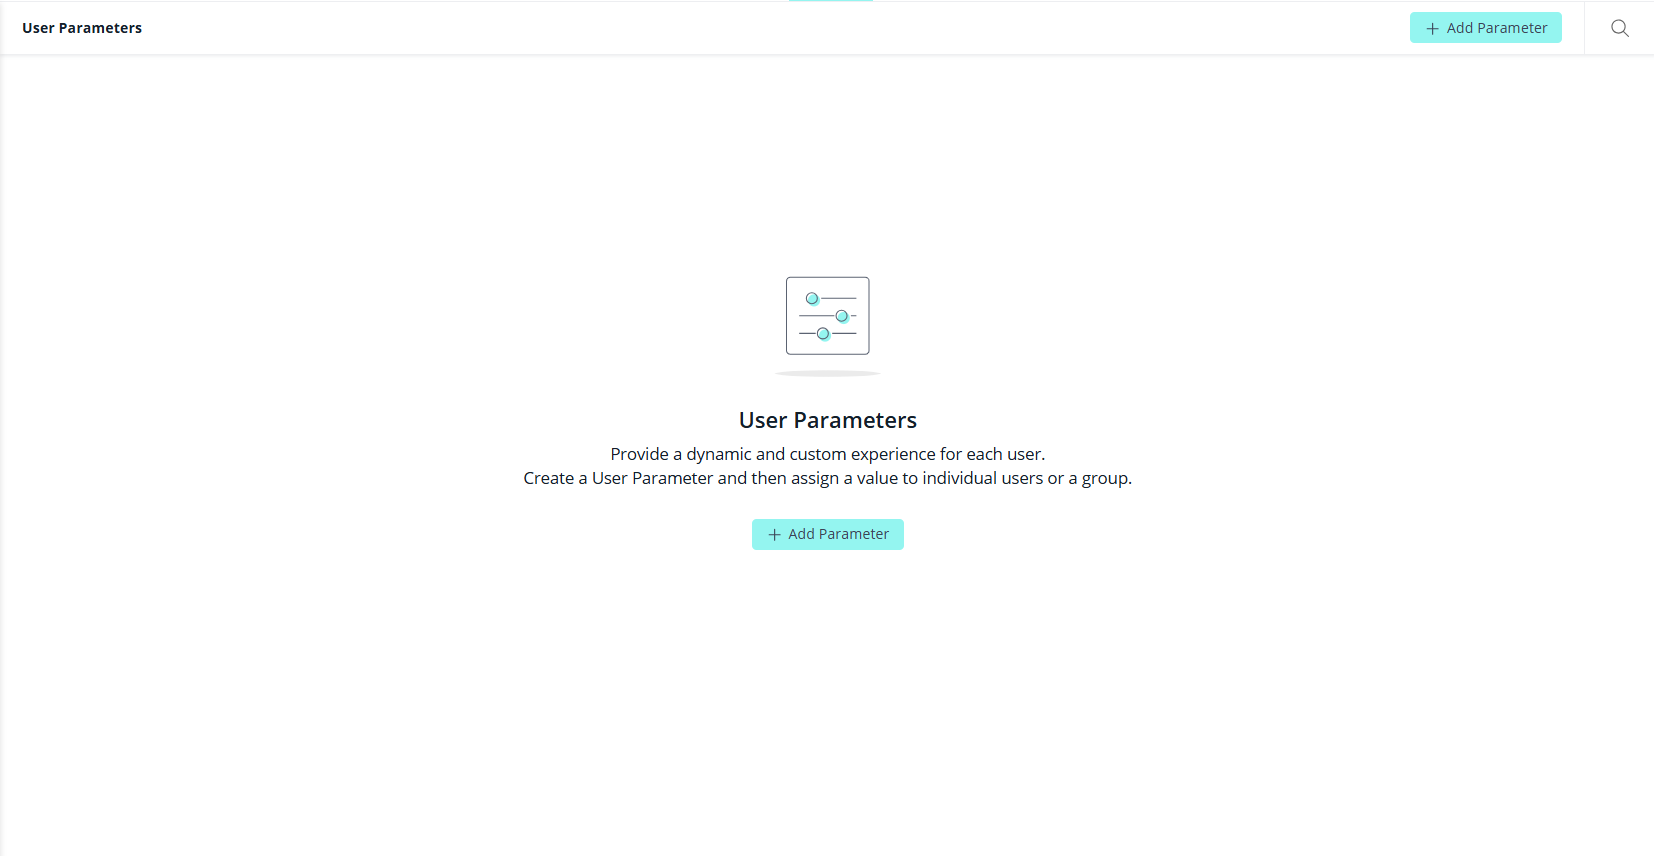
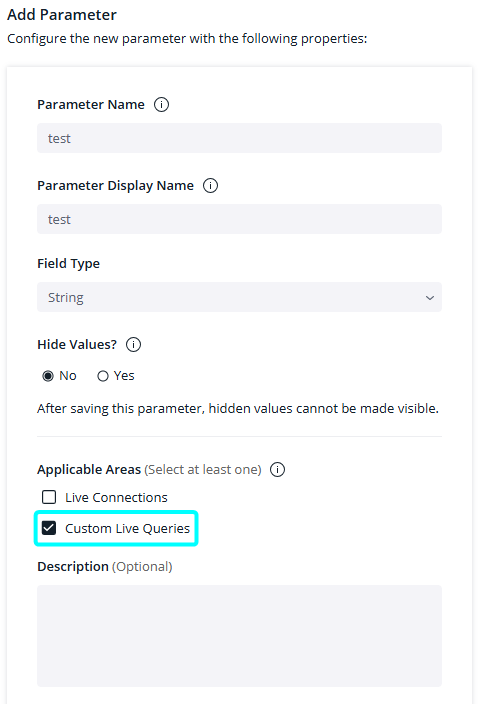
Navigate to Admin > App Configuration > Parameters. The User Parameters screen is displayed.
-
Click
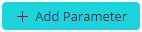 . The Add Parameter screen is displayed.
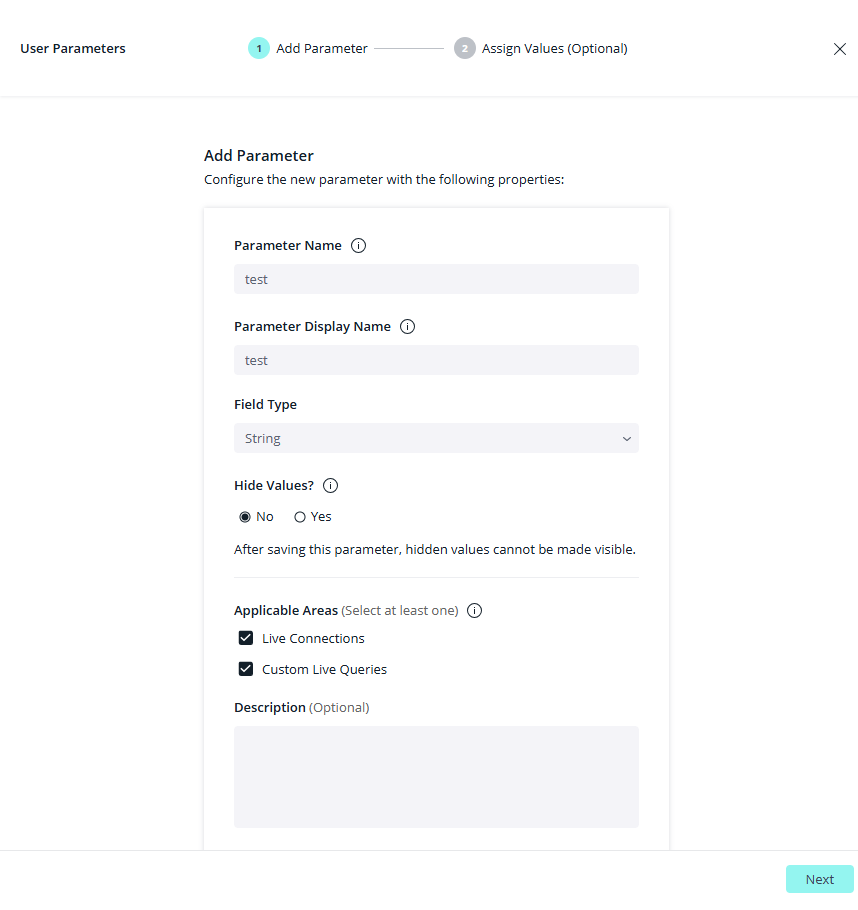
-
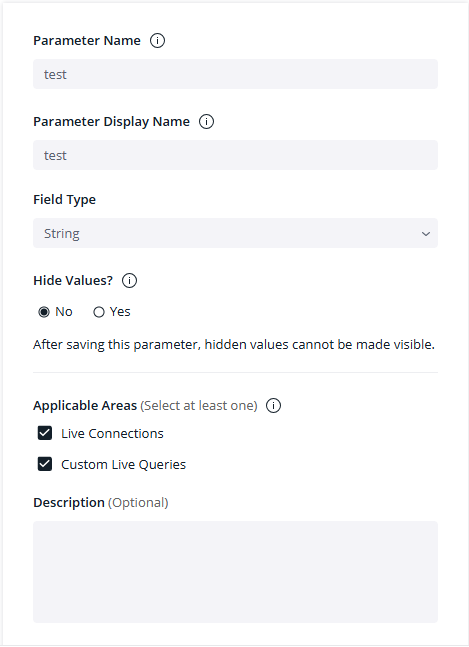
Populate the:
-
Parameter Name - The parameter's name. It must only contain letters (a-z, A-Z), numbers (0-9), or underscores, and have, at most, 30 characters.
-
Parameter Display Name - The name used to display this parameter in the system. It must have, at most, 40 characters.
-
Field Type - Valid values are String, Number, Boolean, Integer.
-
Hidden Values - Set whether the parameter's value is hidden or visible when using the parameter in the data model.
-
Applicable Areas - Select the areas where the parameter is relevant:
-
Live Connections - When selected, the parameter will be available in the New Live Model > +Data > Connect window.
-
Custom Live Queries - When selected, the parameter will be available in the Import Query window.
-
-
Description (optional) - Add a description for your parameter.
-
-
Click
 . The screen for assigning parameter values is displayed.
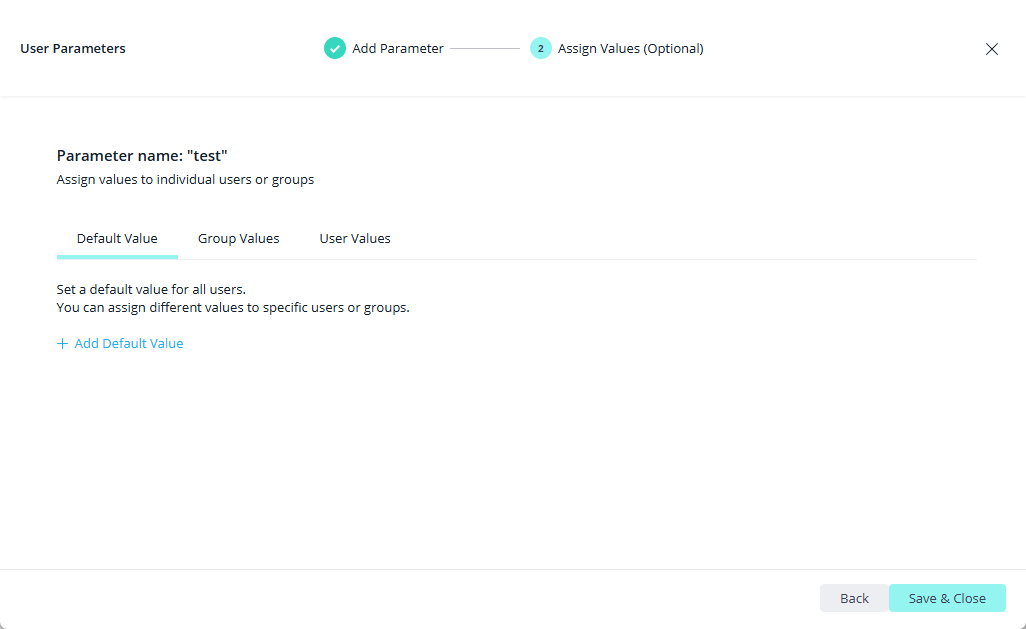
Note:
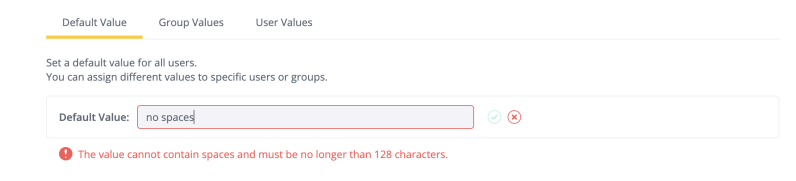
String values cannot have spaces and must be less than or equal to 1024 characters. This field is only for specific values and not entire queries.
-
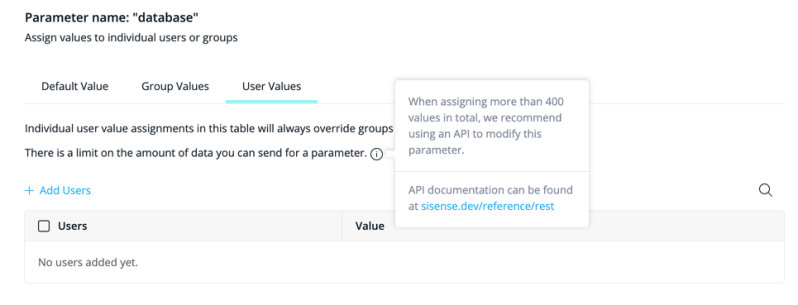
Assign values for the parameter at the user (if relevant) and group (if relevant) levels, and assign a default value for the parameter (compulsory).
IMPORTANT:
There is a limit to the amount of data you can send for a parameter. When assigning more than 400 values in total, you may exceed the size limit, in which case you will receive an error message.
Note:
Updating values, even a single value, in the UI sends a request to update all parameter values when saving. As an alternative, it is possible to partially update parameter values via the API
POST /user-parameters/{id}/values:-
To create a parameter with more than 400 values, create a parameter with the initial batch of values, then use this endpoint to assign the rest.
-
Use this endpoint to update values for an existing parameter with more than 400 values.
-
-
Click
 .
.
The data designer can set different values for a particular parameter at three levels:
-
User Values - A specific value may be set for individual users in a list of users.
-
Group Values - A specific value may be set for each group in a list of groups.
-
Default Value - The default value displayed when the user is not in the list of individual users, or part of a group in the list of groups. A default value must be set.
The list above is in the order of precedence. That is:
-
A user value will be displayed if one is set for the specific user.
-
If the user is not in the list of users, a group value will be displayed for the user if the user is a member of a group in the group list. (If a user belongs to more than one group, the value of the group to which the user belongs that is highest on the list applies.)
-
If the user is not a member of either list (users or groups), the user will see the default value.