Customizing the Dashboard Layout
Last updated: June 11, 2026
| Tier | Deployment |
|
|
|
By default, widgets are arranged in a dashboard one underneath the other. When you add a new widget, it is added at the bottom of the dashboard.
You can drag widgets one on top of another by selecting the widget's title and moving the widget to the relevant location.
The dashboard can also be organized in columns. By default, a dashboard is created with a single column, but you can add up to four columns. Each column can contain multiple widgets, but a widget cannot span more than one column.
You can rearrange the order of the widgets, reorganize the widgets in columns, add/remove widgets from columns, and resize columns/widgets.
For a short video overview of customizing the dashboard layout, see below:
Layout Mode and View Mode
A dashboard can be viewed in either Layout mode or in View mode.
Layout Mode
Layout mode is the default mode in which you can add new widgets and rearrange them on the dashboard, as described throughout this section.
 is displayed in the top-right corner
of the screen when the dashboard is in Layout mode. Click this button to display View mode.
is displayed in the top-right corner
of the screen when the dashboard is in Layout mode. Click this button to display View mode.
View Mode
View mode enables you to see what the dashboard looks like when a user is only viewing the dashboard. In View mode, the dashboard cannot be rearranged or edited.
 is displayed when the dashboard is in
View mode. Click this button to display Layout mode.
is displayed when the dashboard is in
View mode. Click this button to display Layout mode.
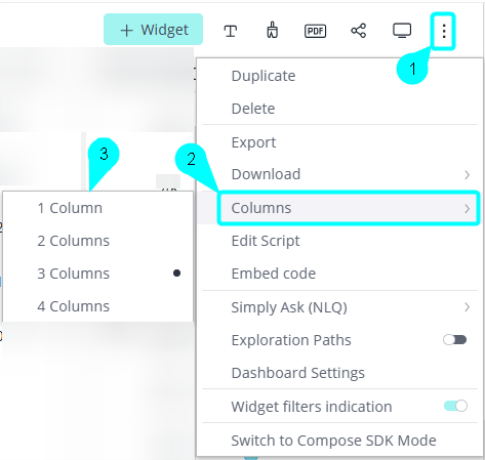
Adding Dashboard Columns
To change the number of columns:
-
Click on the dashboard's menu, and select Columns and the number of columns.
Moving a Widget on the Dashboard
To move a widget to a different column or position:
-
Make sure that you are in Design mode (default mode). Use the Design mode indicator
 to switch from View mode to
Design mode.
to switch from View mode to
Design mode. -
Drag and drop the widget into the desired position by dragging it by the top part of the widget.
The position of a widget can be split to contain multiple widgets within a single column by dragging one widget on top of another.
Note:
To change the position of a Blox widget on the dashboard, first make sure the widget's title is not hidden.
Placing Widgets Side-by-Side
You can place widgets side-by-side using one of the following methods:
-
By putting each widget in a different column.
OR
By dragging one widget on top of the other. Both these widgets will then be in the same column.
Resizing Widgets
Resizing the column height or width automatically resizes the widgets in the best possible way.
To resize a widget:
-
Resize the dashboard column in which the widget is located by dragging the edge of the column right or left. All the widgets in this same column are resized accordingly in an optimal manner.
-
Resize the widget by dragging its edges right, left, up or down.
Refer to Ticker widgets below for a description of how an Indicator Widget turns into a ticker type widget when you reduce its height.
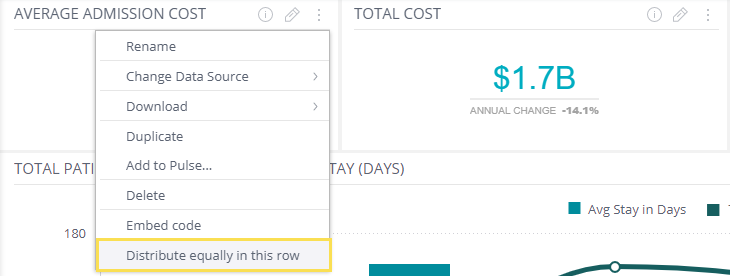
Distributing Widgets Equally on a Row
You can distribute multiple widgets equally on a row within a dashboard, which means that they assume the same width.
To distribute widgets equally:
-
Click on the widget's menu of one of the widgets on the row, and select Distribute Equally in This Row .
Adding Widget Titles
You can add titles to your widgets directly in the dashboard view.
If you already added a title when you created the widget in the Widget Designer, you can edit the title directly in the dashboard.
To add a widget title from the dashboard:
-
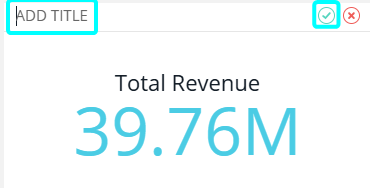
To add a title, click Add Title at the top of the widget, and type in the title. If you are editing a title, click on the existing title, and type in the new title.
-
Click on the green
 icon to
save the title.
icon to
save the title.
Working with Ticker Widgets
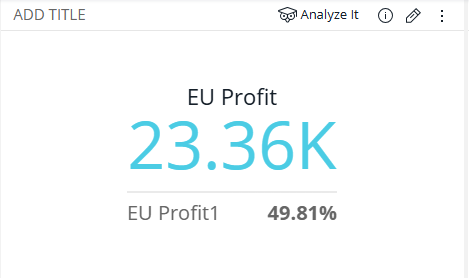
If you resize the height of an indicator widget, it automatically turns into a Ticker-type widget. An indicator widget that was a numeric indicator appears differently than an indicator widget that was a gauge.
Standard widgets
 |
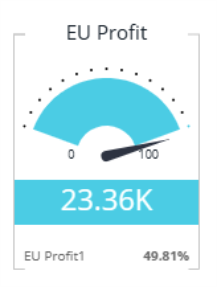 |
| Full size Indicator widget | Full size Gauge widget |
Compact widgets
 |

|
| Compact indicator widget | Compact gauge widget |