Creating and Removing a Relationship Between Tables
Last updated: June 11, 2026
| Tier | Deployment |
|
|
|
Relationships are the backbone of any data model. They define how different tables connect, allowing you to combine data points - like linking a specific customer to their order - to create a comprehensive view of your business.
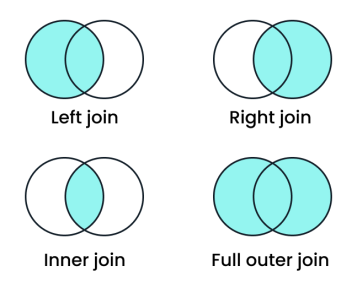
Sisense provides four primary ways to join data within ElastiCubes and Live Models. The join type you choose determines what data is visible when tables are joined.
| Join Type | Behavior | Best Used When... |
|---|---|---|
|
Inner (Default) |
Returns only the rows where there is a match in both tables. | Data integrity and high performance are your top priorities. |
|
Left |
Returns all rows from the left table, plus matching rows from the right. | You need to see all primary records, even those without a related entry (e.g., all customers, even those with no orders). |
| Right |
Returns all rows from the right table, plus matching rows from the left. | You want to focus on the secondary table's complete list. |
| Full |
Returns all rows from both tables, regardless of whether a match exists. | You need a comprehensive view of all data to identify "orphaned" records or gaps on both sides. |
Note:
Left, right and full joins are only compatible with the Analytical Engine.
Choosing the Right Relationship
As a data modeler, your choice of join type impacts how business analysts interact with the data:
-
Use Inner Joins to enforce strict data governance. This ensures that the dashboard only displays complete, "clean" datasets where all relationships are valid.
-
Use Outer Joins to find data gaps. These are ideal for identifying missing data or business opportunities, such as locating unsold inventory or customers who haven't made a purchase in a specific timeframe.
Note:
Sisense defaults to inner join to ensure optimal performance and data consistency across your models.
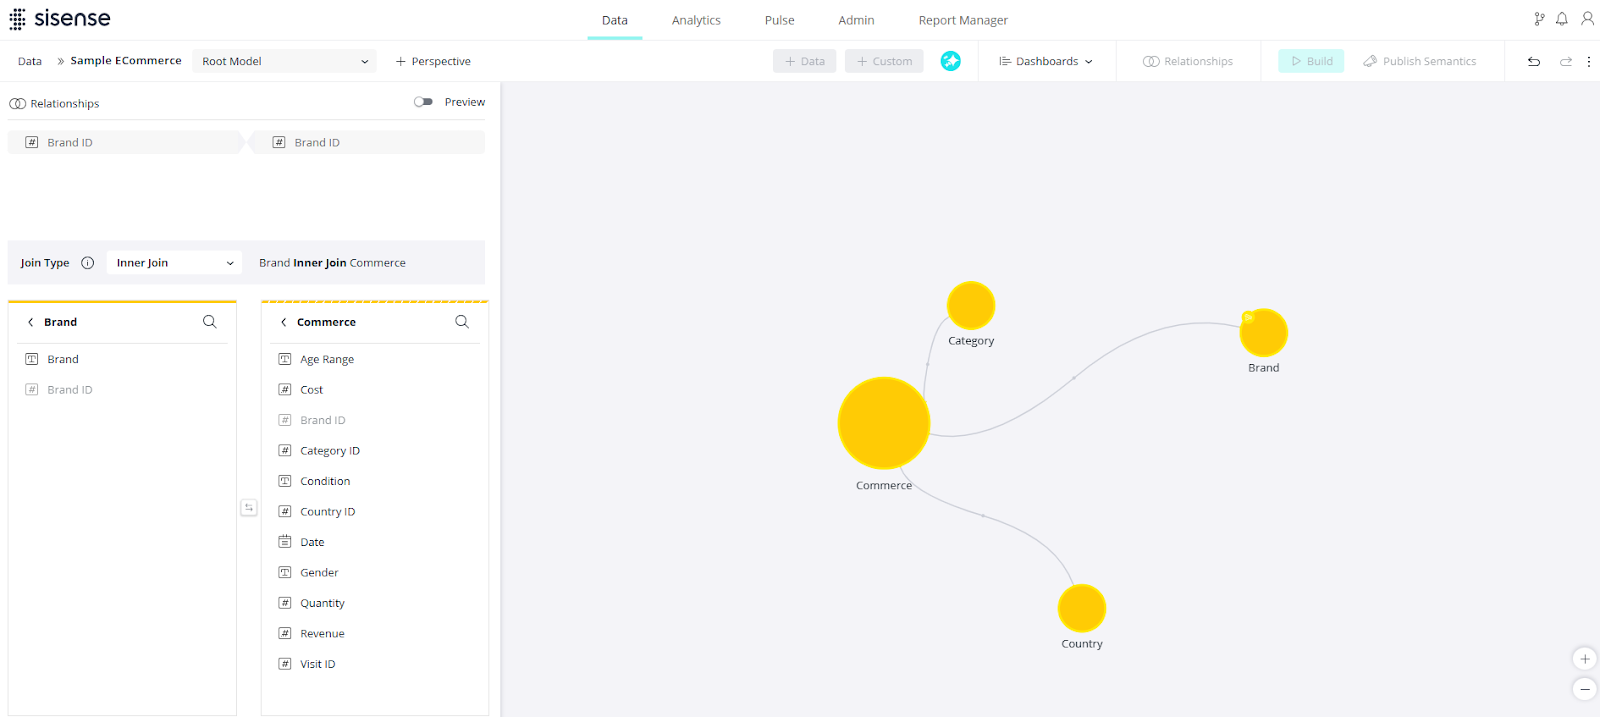
Creating a Join Between Tables
-
Navigate to the Data tab and select the data model in which you want to create the join.
-
Click Relationships to open the Relationships panel.
-
Select the two tables to be joined. (You can also join 2 tables by dragging the table over the target table).
- Select the columns to be joined.
Note:
Ensure both fields that you are using to create the join are of the same type, for example decimal fields. Each column can only be part of one join. If you want to use the same column for different joins, duplicate the column and create a new join.
Once a join is created, it is automatically saved (even before clicking Done).
-
To check or change the field type: in the left pane, click the field type of the field you want to change and select the new type from the list.
-
By default, the tables are joined using an inner join. To change the join type, use the drop down menu to select the desired join:
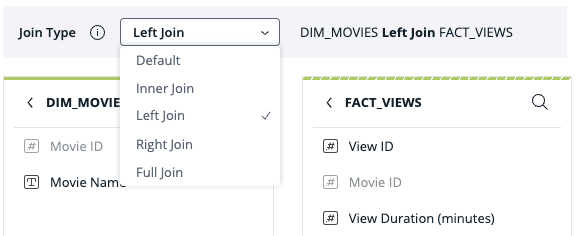
The "default" join type currently indicates an inner join. In future versions, data models may be able to inherit other flexible join behaviors from an upper-level setting/product. At such a time, "default" may be changed to represent a different join type. Selecting "inner join" will ensure inner join behavior even if the default changes.
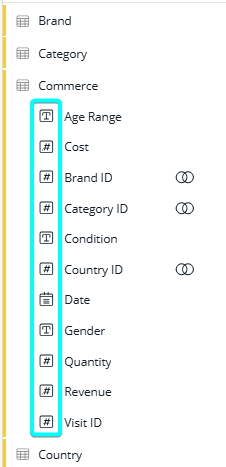
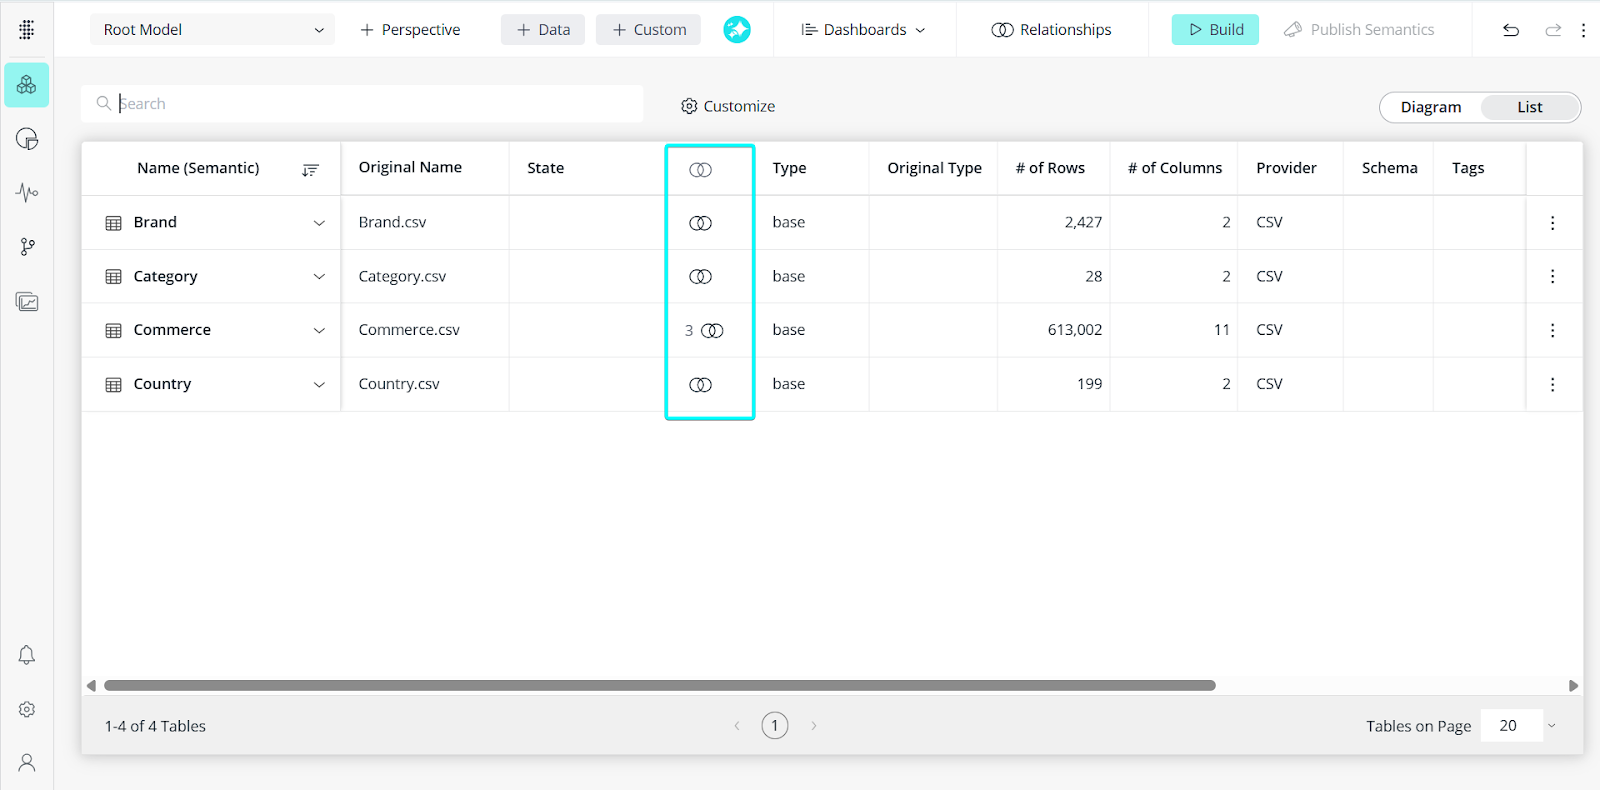
Tip:
When viewing the data model in list mode, hover over the item in the relationship column to view its join type (or to remove it).
In diagram view, hover over a relationship line to view its join type for non-default join types.
Modifying a Join Type
When you modify the join type of an existing relationship between tables, the changes are not immediately applied to your queries and dashboards. To reflect these changes in your data model, you must perform the following actions based on your model type:
For Live Models
Publish the model.
Note:
Any changes to the relationship logic in a Live model require a fresh publish to update the schema used by the query engine.
For ElastiCube Models
To apply join type modifications, choose one of the following options:
-
Full Build: Trigger a standard Build of the ElastiCube.
-
Publish Semantics (recommended for metadata-only changes): If you have only changed the join types of existing relationships and have not added changed table structures, you can select Publish Semantics. This is significantly faster than a full build as it only updates the model's metadata layer without re-processing the underlying data.
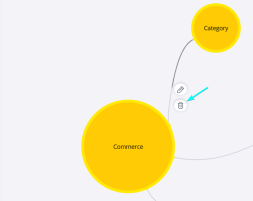
Deleting an Existing Join
In diagram view: click the line that represents the join and click ![]() .
.
In list view: In the join type column, click the icon for the join to be deleted:
From the popup, click ![]() .
.
If you are deleting a join from a table with multiple joins, you will first need to select the join icon ![]() and then select the specific join to be deleted:
and then select the specific join to be deleted: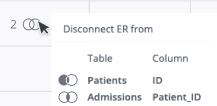
Use Cases
Join Type Reversal
When tables are connected using a left or right join, the generated SQL enforces the specified join type. However, the join's semantics may be reversed during execution if the order of tables in the generated SQL is changed. This does not impact the results and is only reflected in the widget's SQL. For example: the Analytical Engine may convert tbl1 LEFT JOIN tbl2 to tbl2 RIGHT JOIN tbl1 during execution. The outcomes remain identical; only the relationship semantics change.
Filter Propagation
By default, filters (WHERE statements) are executed in the innermost nested table. However, in some cases, they are applied on the resulting joined tables data set. To avoid unexpected results:
-
If a filter excludes a value in a non-preserved table in one of the joined tables, the filter is pushed up and matched values from the results are excluded as well.
-
If a filter explicitly excludes NULL values, the filter is also pushed up. As a result, it will also deselect NULL values from the results.
-
When a filter explicitly selects a NULL value, it will also allow NULL values in result set. This is because the filter does not discriminate between a NULL produced by an outer join and a NULL present in the original data.
Limitations
-
Join types are not saved when exporting the data model via Sdata. For exporting and importing, use Smodel exporting.