Adding Custom Actions to Sisense Quest
You can create custom actions that allow your Viewers to take actions from the dashboard, such as posting a widget to Slack or sending a Zapier webhook.
After an action is created, its added to your My Actions list for each model type just like the default actions provided by Sisense.
When creating a custom action, you may use pure JavaScript syntax as well as libraries used in Sisense , such as jQuery, Underscore.js, and Moment.js. The action can access prism and other global variables included in the Sisense JavaScript API.
After saving your action, the action's code goes through Babel, transforming it into ES5 for cross-browser compliance purposes. This transformation is transparent so you see the original syntax any time you choose to edit the action.
The tutorial below illustrates how to set up a custom action designed to send messages to WhatsApp users.
Payloads
Custom actions use arguments named payload to access most of their relevant information.
Below are a few important payload properties that any action can access:
-
action - The action's functionality. For example, Open URL, takes a parameter URL and opens it in the user's browser in a new tab.
-
widget - The widget object. You can use this object to access the widget's structure and result set as well as the parent dashboard and its attributes (filters, other widgets in the dashboard, etc.)
-
currentModel - The current model object contains the data for each model and changes according to the model the action is being applied to.
Creating an Action
To create a custom action:
-
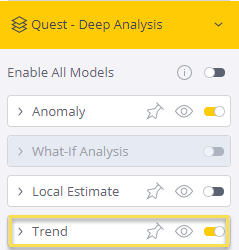
In your dashboard, edit a supported widget. The Sisense Quest Model Editor is displayed in your Design panel.
-
Enable one of your models.

-
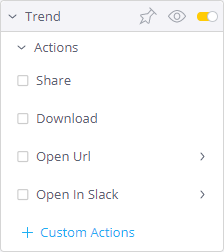
Click the Model title to display its supported actions.

-
Click + Custom Actions. The JavaScript editor is displayed.
-
In Action Name , enter a name for your action, preferably camel cased.
-
In the editor, define your action's functionality.
-
Click Next.
-
In Parameter, enter the name of any attributes you want to collect. For example, URL if you want your Designers to pass a URL that will be displayed when the action is chosen. Click + Add Parameter to add more parameters to your action.
-
Click Create. The custom action is added to your list of My Actions for each model. You must select your custom actions before they are applied to a widget.